

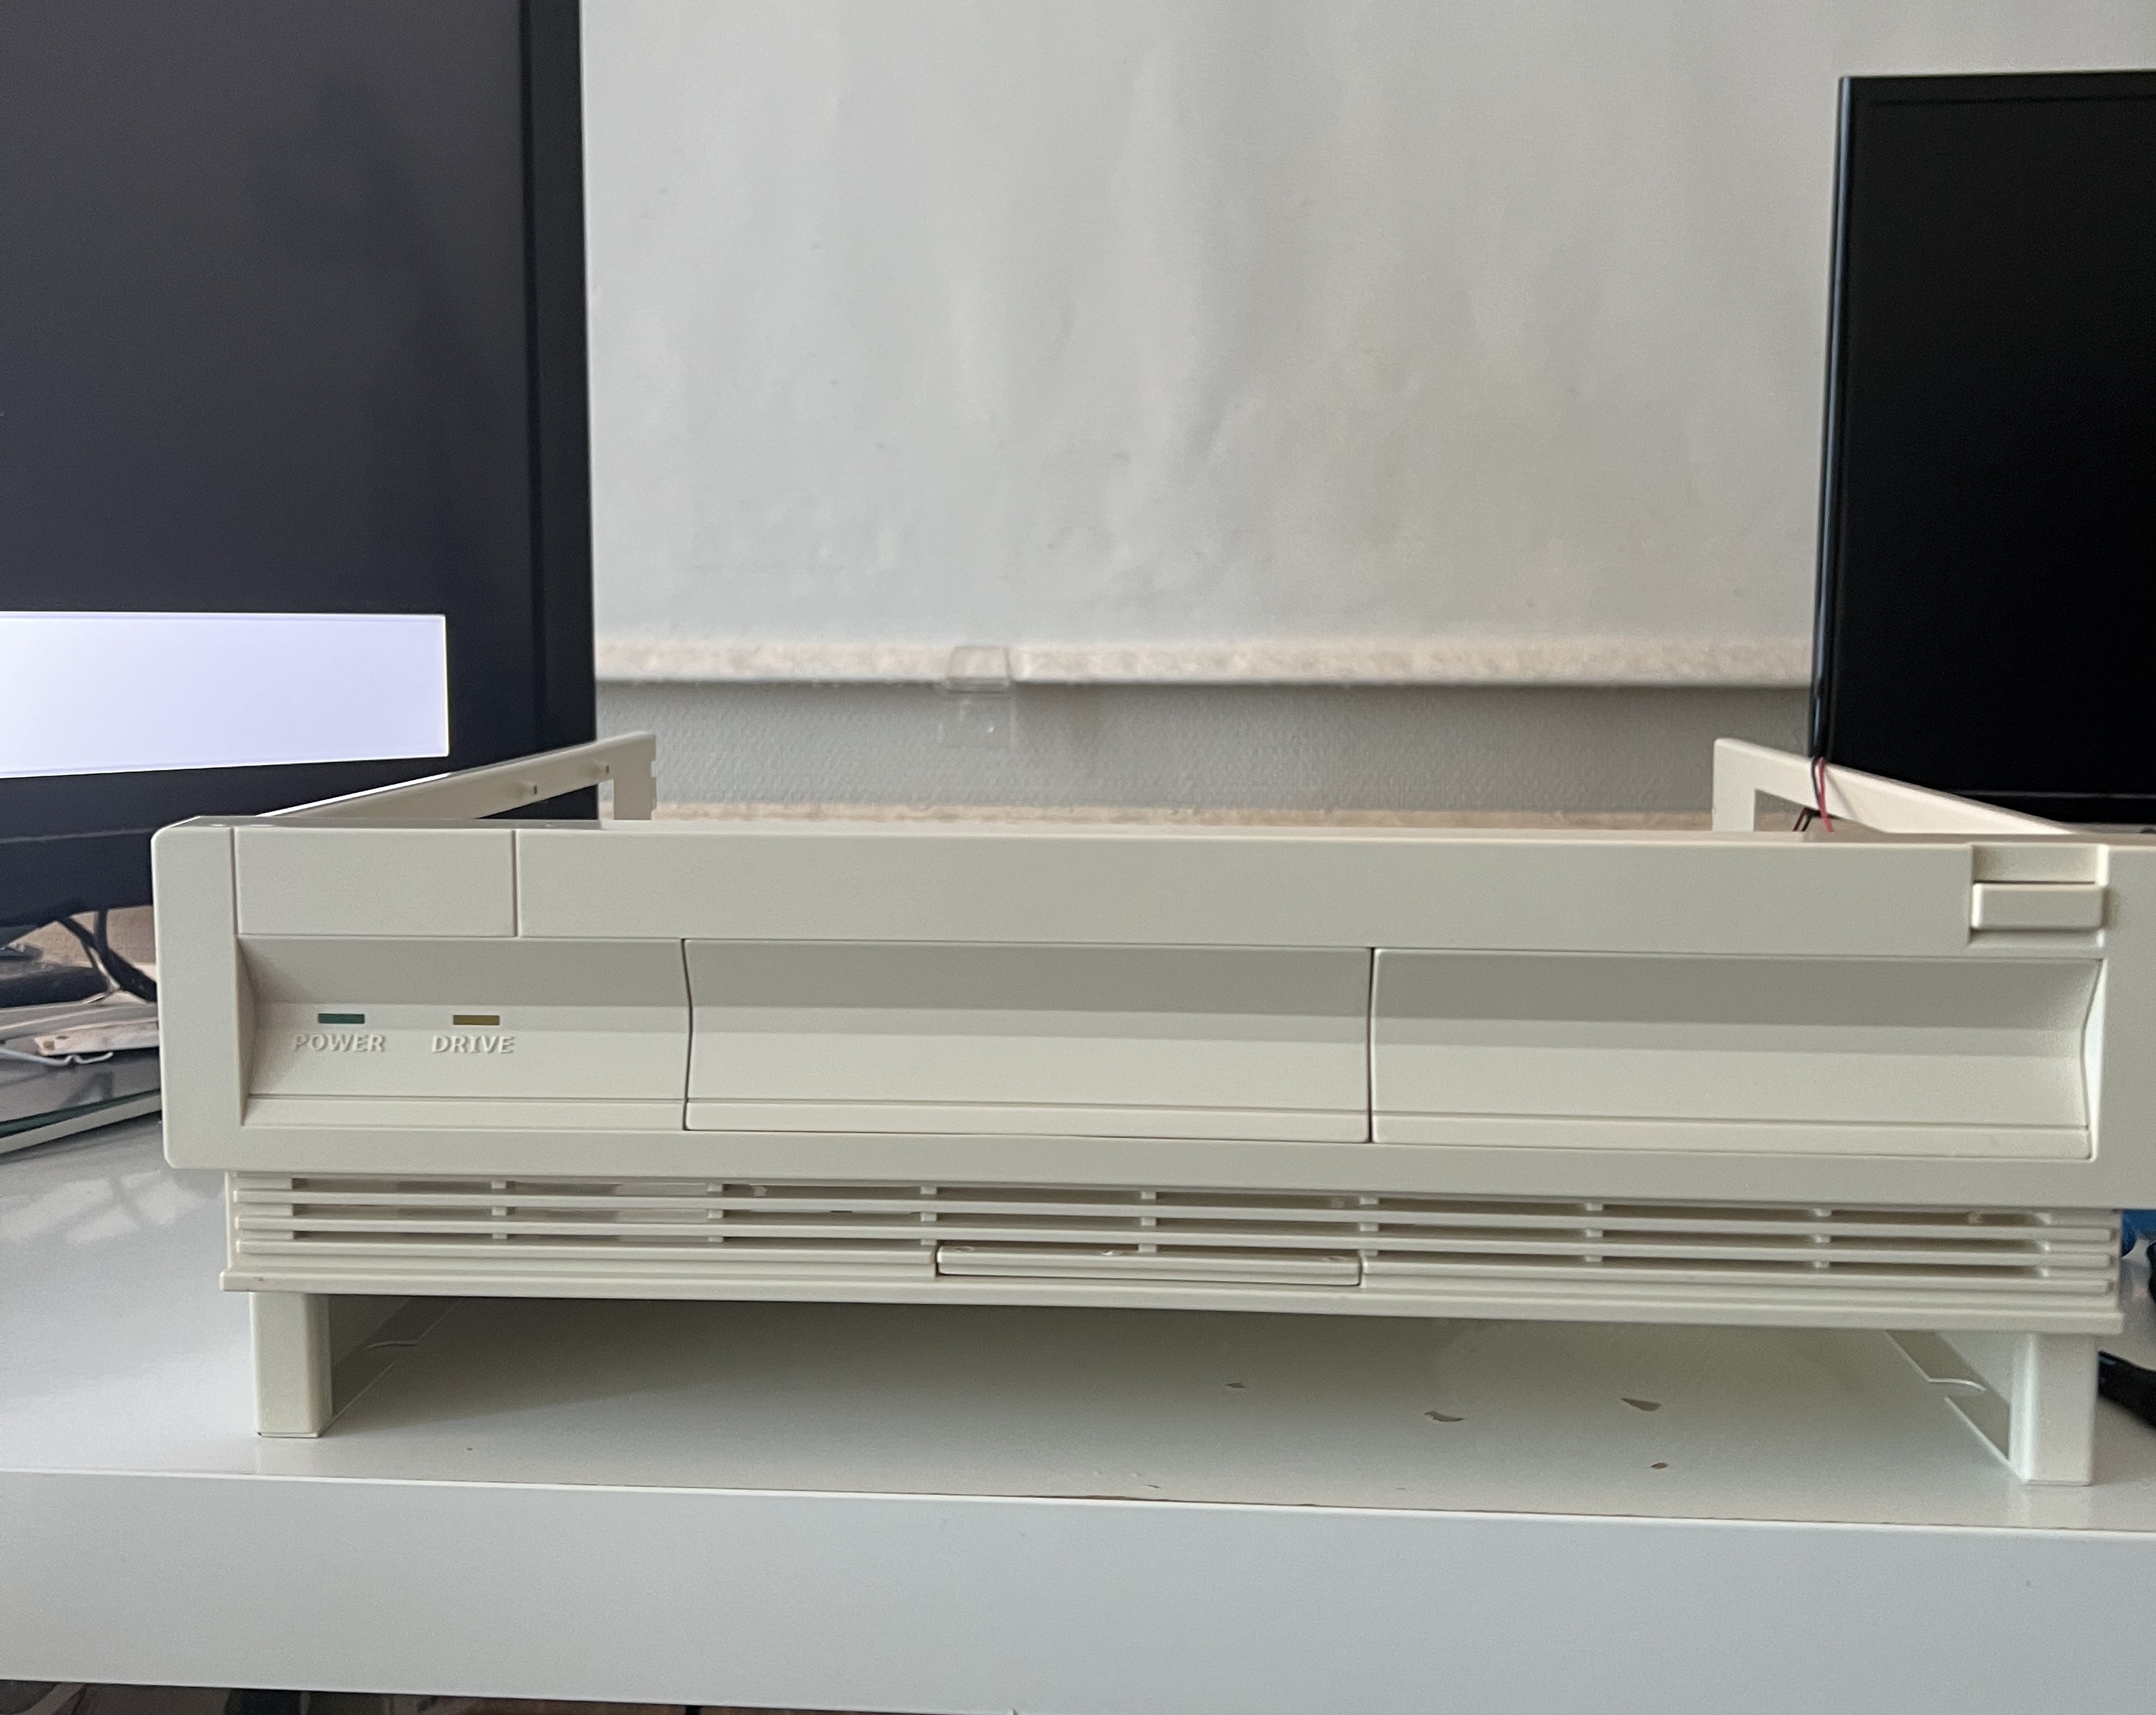
A few weeks ago, I finally got around to building my Amiga 1200 build in a Checkmate 1500 Plus case. For several reasons, I have wanted this for a long time. The beautiful case, the nice keyboard garage, easier to fit on my desk and more. So this time I want to show you some pictures, share some thoughts, and maybe introduce you to a world of the Amiga hobby if you have not seen much of it before. Hopefully you will find it interesting as well.
What is the Checkmate 1500 Plus?
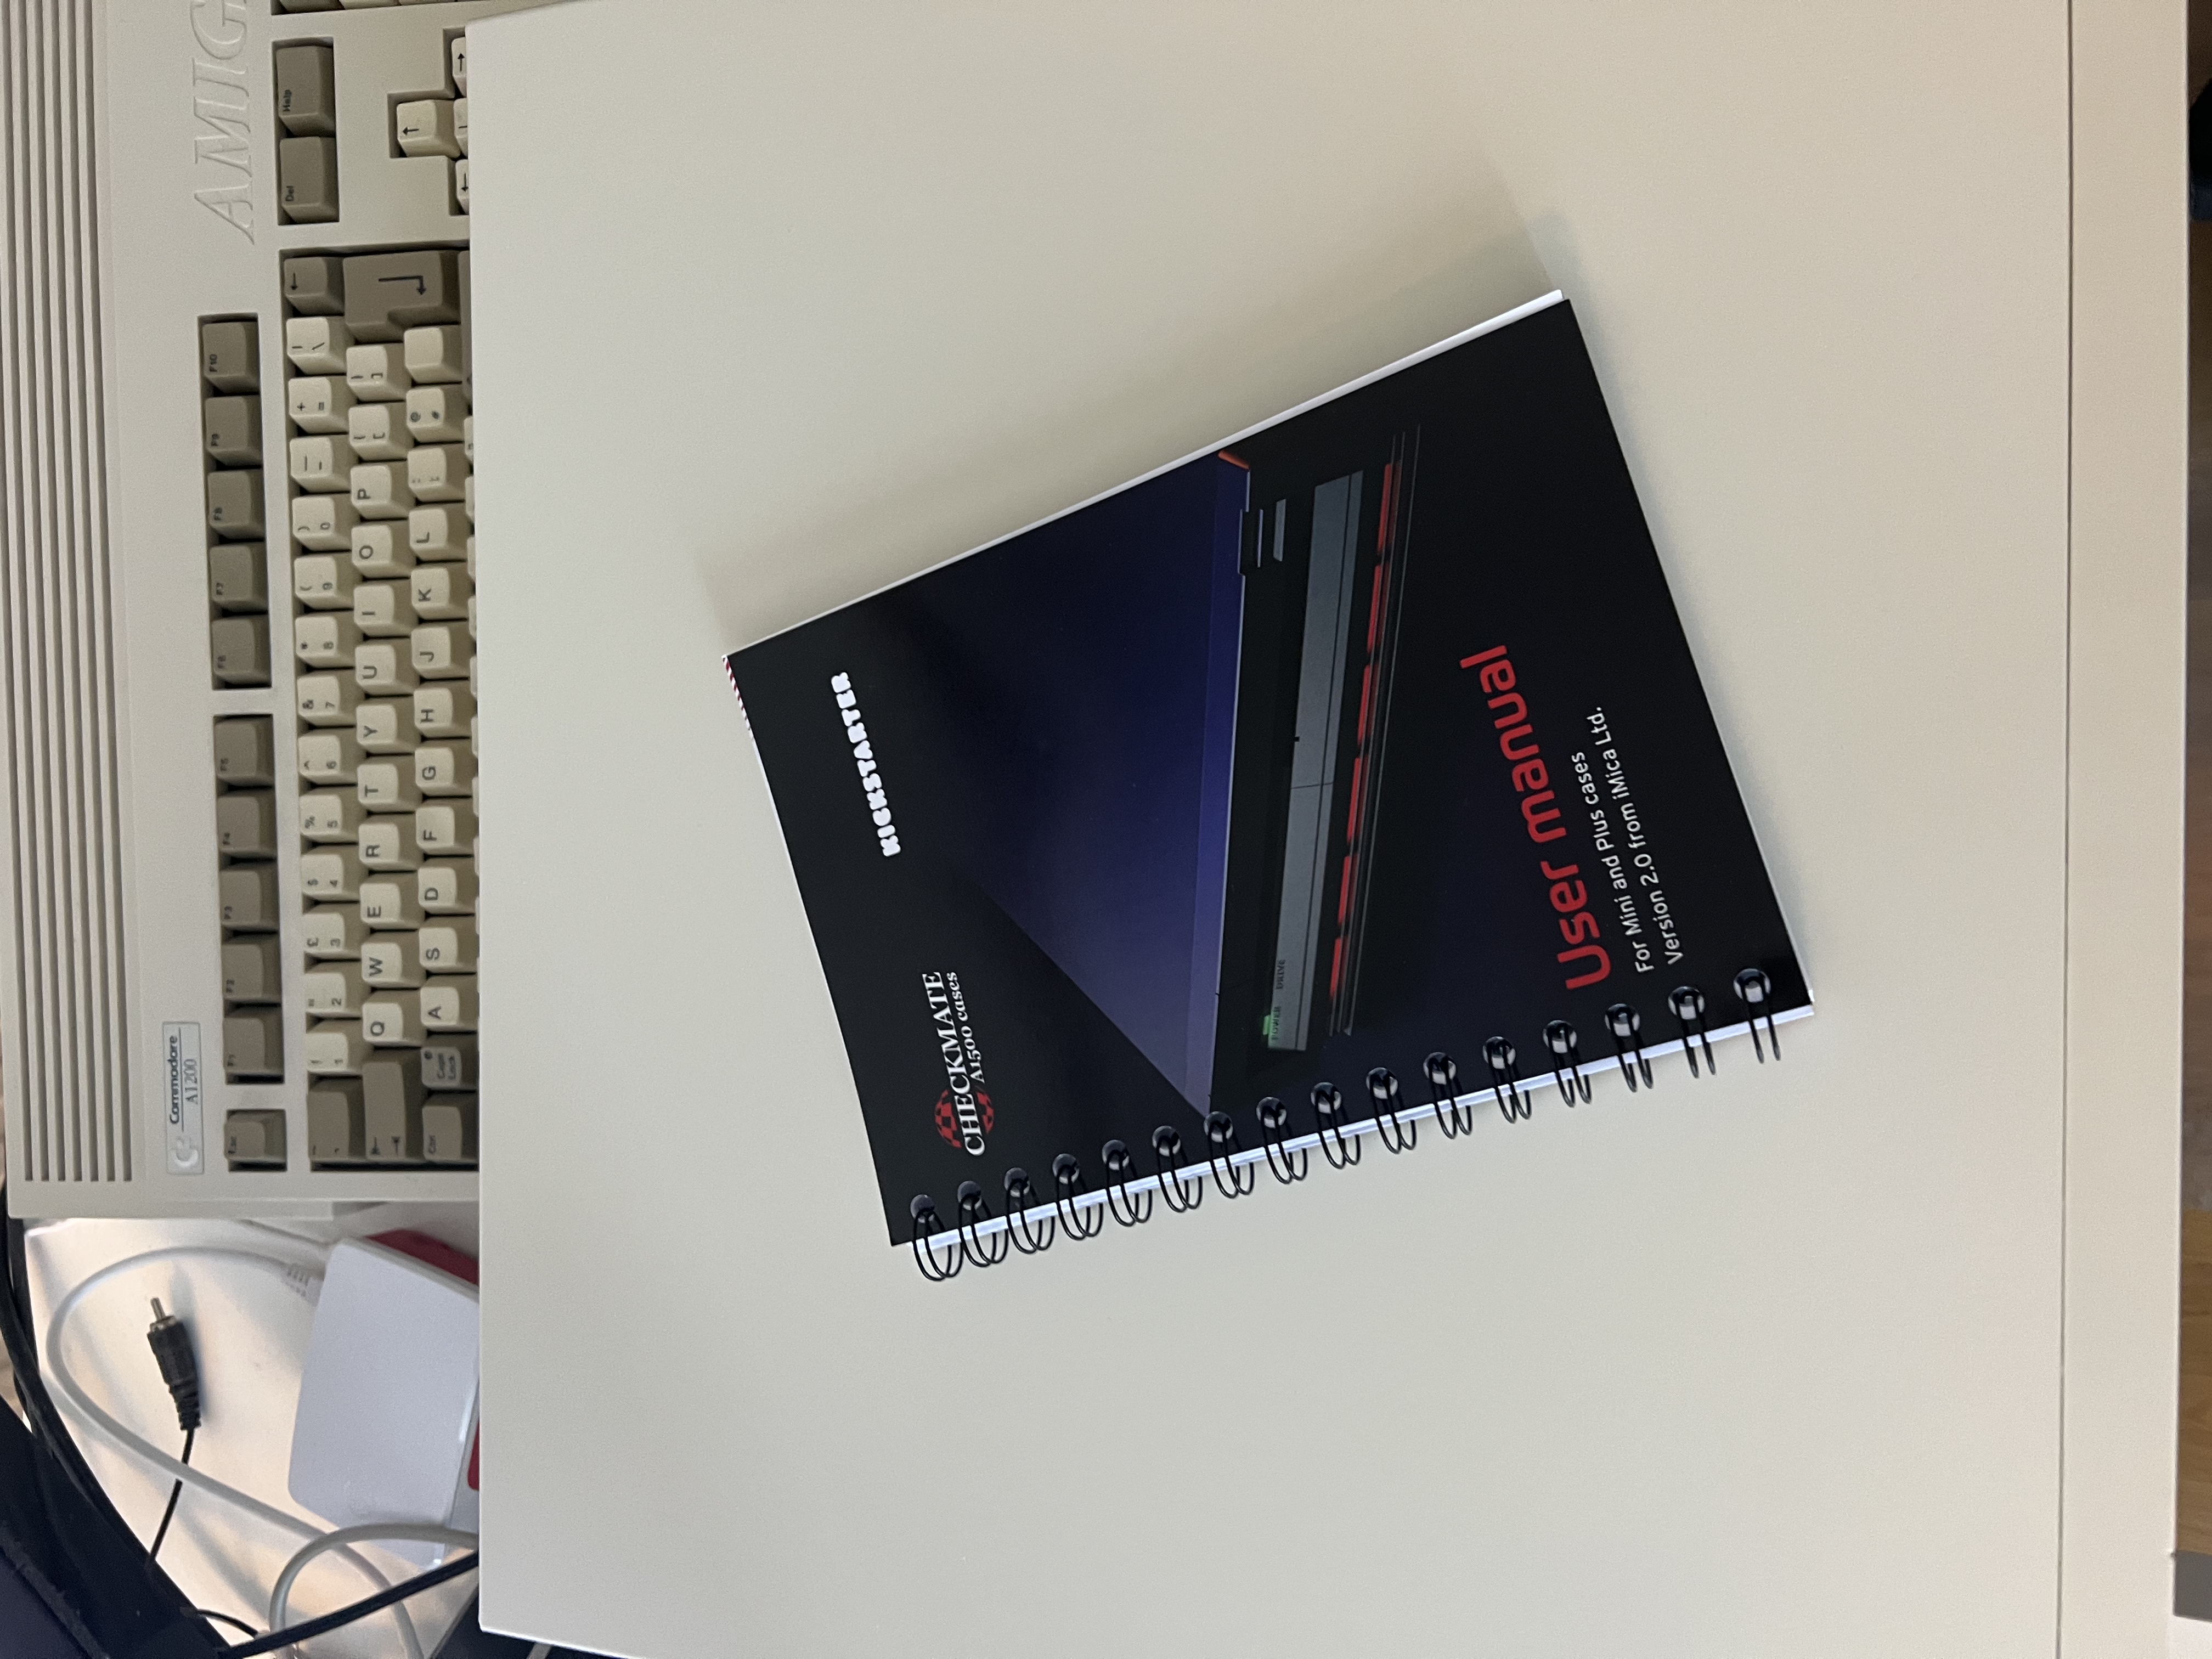
The Checkmate 1500 Plus is a case/cabinet for computer builds, most famously various Amigas. It is made by Steve Jones and a team of people. They have other products as well, like the smaller Checkmate 1500 Mini and the upcoming Checkmate Displays. No affiliation, just admire their work. What I find interesting is that Steve Jones actually made a similar case in the 80s for the Amiga 500! The Checkmate 1500. It made it possible to build the motherboard of the Amiga 500 into a new case, which had rooms for expansions. Remember that the big box Amigas in the 80s was expensive, so it was often way cheaper for people to buy this setup. The great upgradability was a huge plus. Commodore noticed the effort, and launched their own Amiga 1500. If you find this story interesting, you can hear parts of it in Steven's own words in RMC The Cave's video about it:
Why did I want this?
For the people who only thinks of Amiga machines as gaming machines or similar, it can be hard to understand why anyone would do this. They often just think of Amigas as games consoles, and aren't really invested in online Amiga communities. To me, Amiga is a cool computer platform, and I use it for all sorts of things:
- Testing out new software, and seeing how far you can take older hardware. Sometimes it makes you think if we can use our devices a bit longer, and not just get the newest flashiest shit…
- Trying new hardware for it. What I find most interesting is seeing new technology meeting the old. Seeing how it empowers the machine to do new things we might not have thought possible!
- Making small utilities and applications for it, and learning about the hardware. Programming using older APIs, or none, is a fun distraction from the modern horrors or complexity. Would also be fun to see if I could do software defined radio stuff on it somehow.
- Sometimes games. Yes, I sometimes play some small games for it. It is NOT only a game machine though.
If you want to go deeper into the rabbit hole, I recommend 10 Minute Amiga Retrocast videos, The Guru Meditation, or Dan Wood's videos.
So why did I want to do this build?
- Better space for accelerators and upgrades like a possible CD-ROM drive in the future.
- Easier to open and look inside. The screws on my Amiga 1200 has slowly been wearing out over the years, and the case seems more brittle. Better to have that as a display piece, and being able to use the rest of it.
- An actual power button that is easy to reach (thanks to a modern power supply/PSU).
- Nice sleek cabinet on my desk that I can easily slide my keyboard below to get more space. Also heightening the monitor/TV, which is a bonus!
- The previous point again! The actual keyboard garage like the Amiga 1000 had! That is peak design in my book!
Pre-build configuration
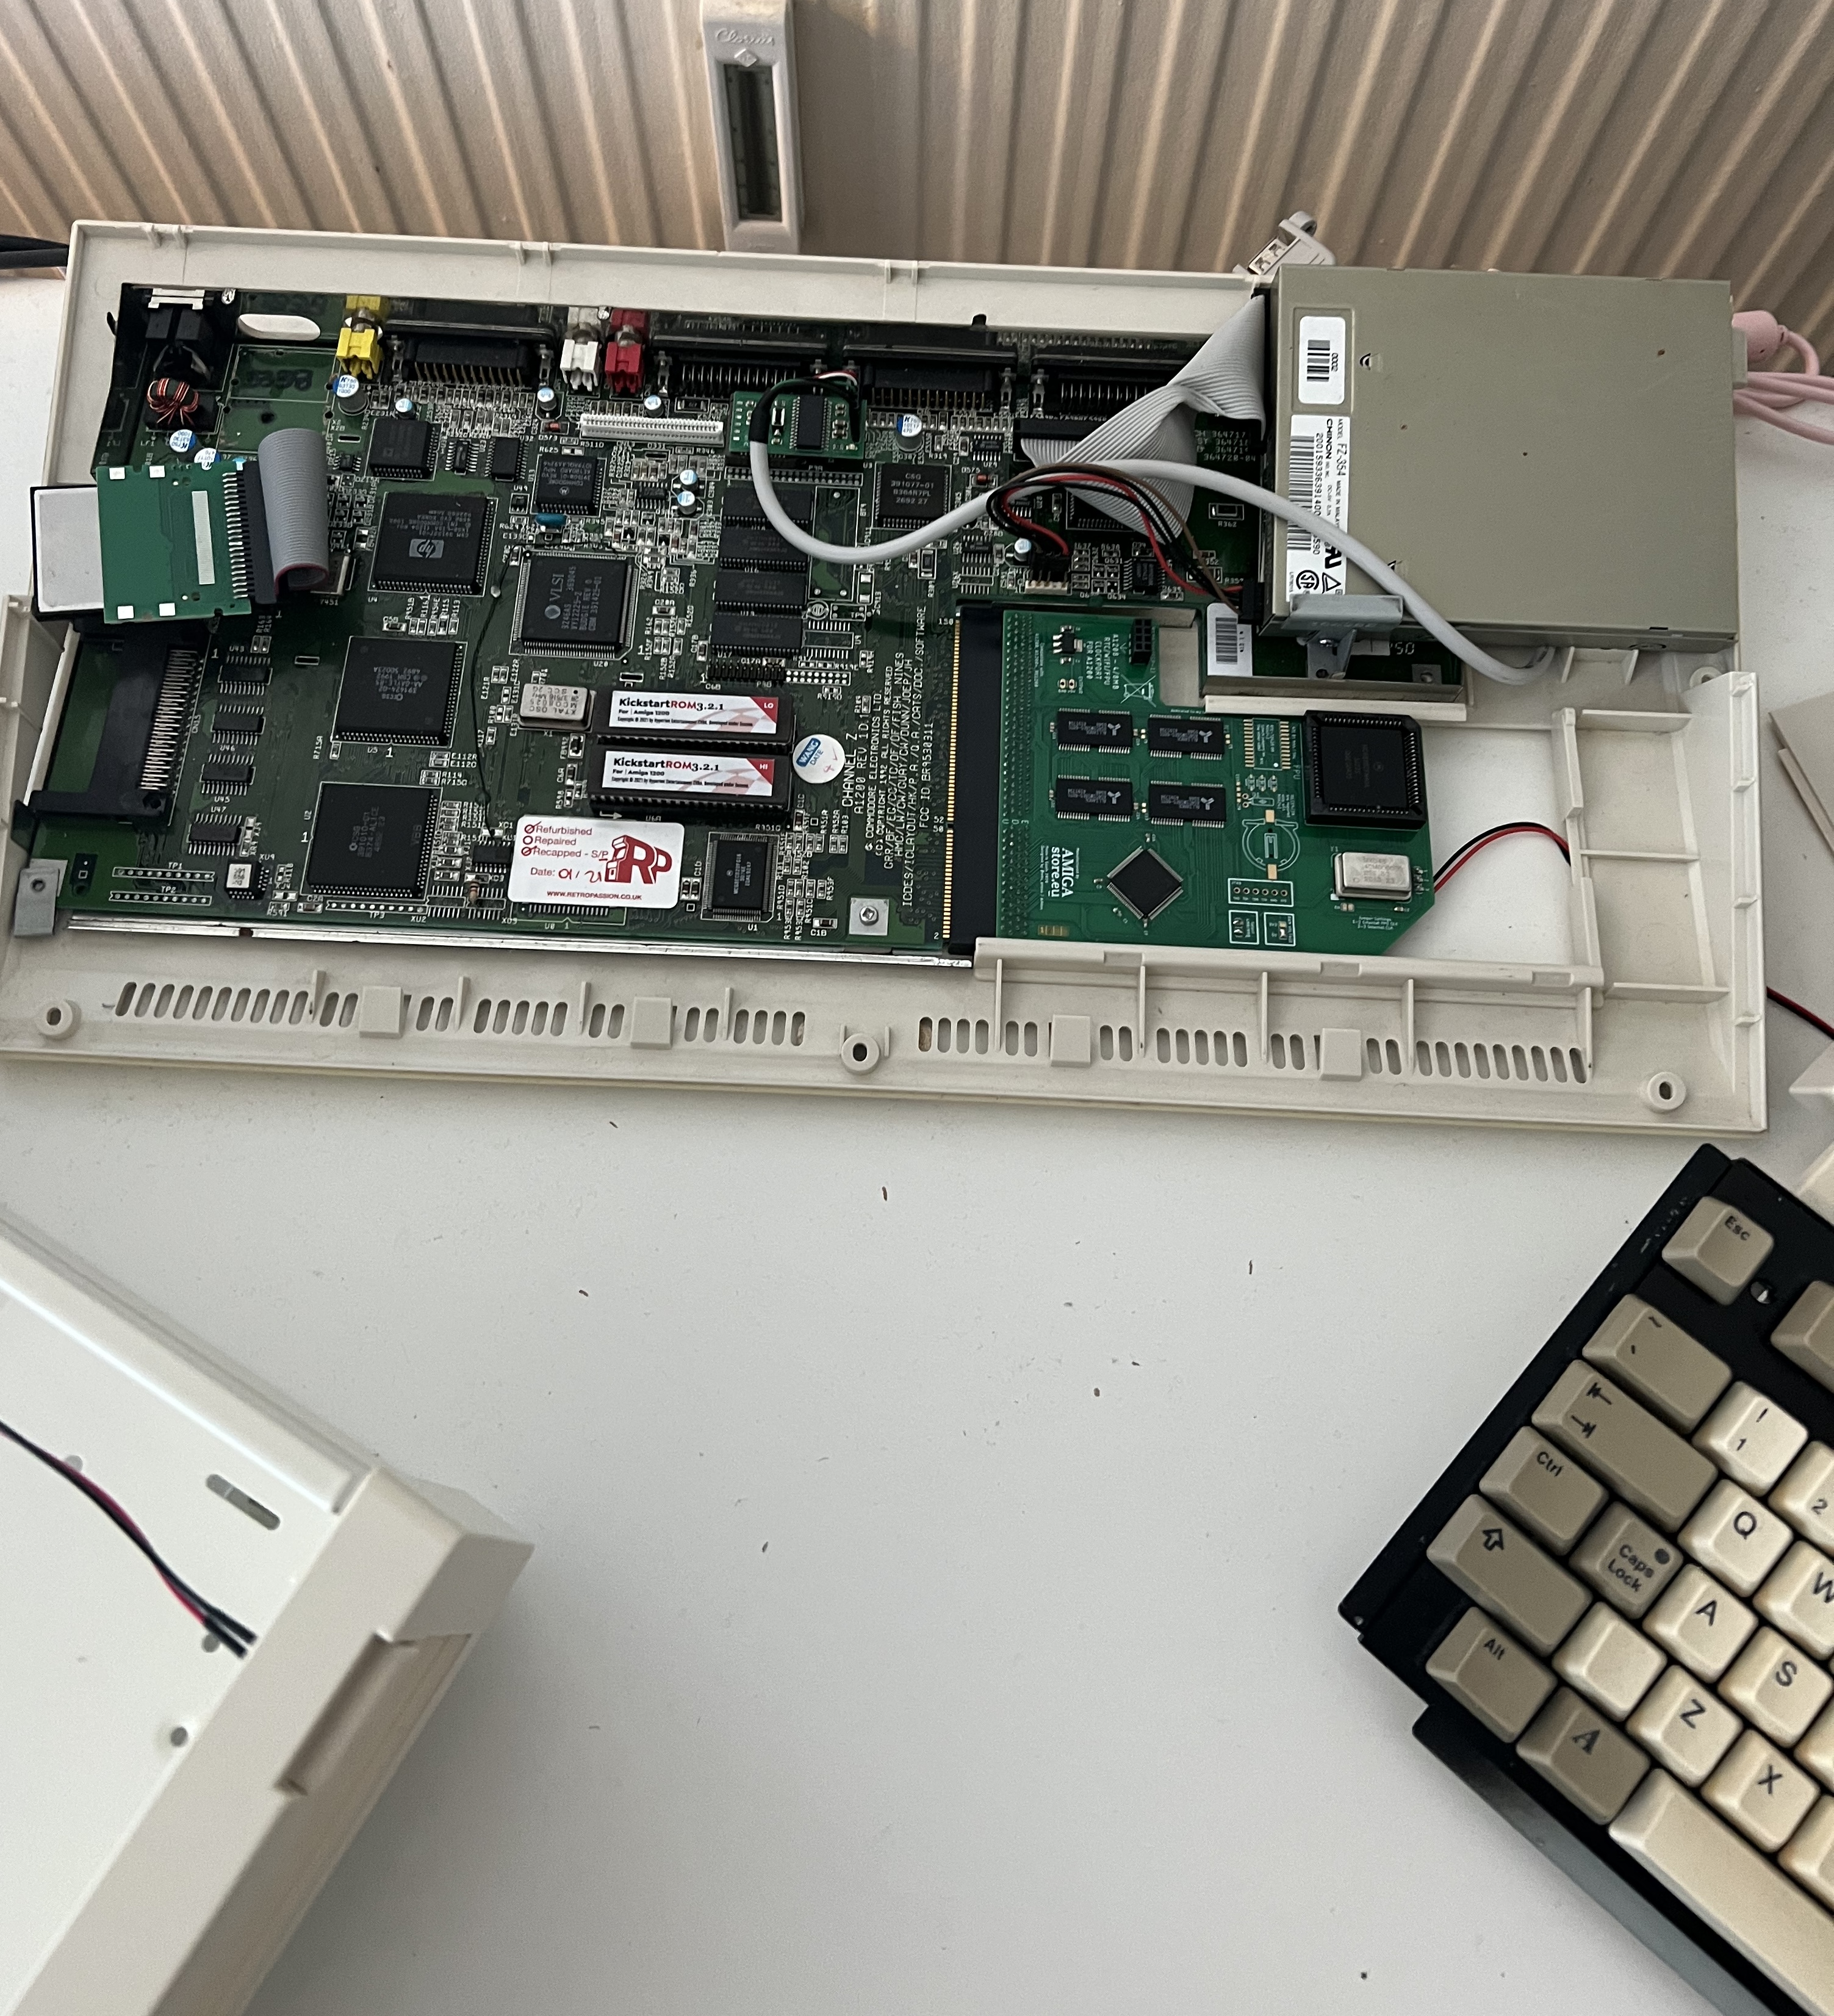
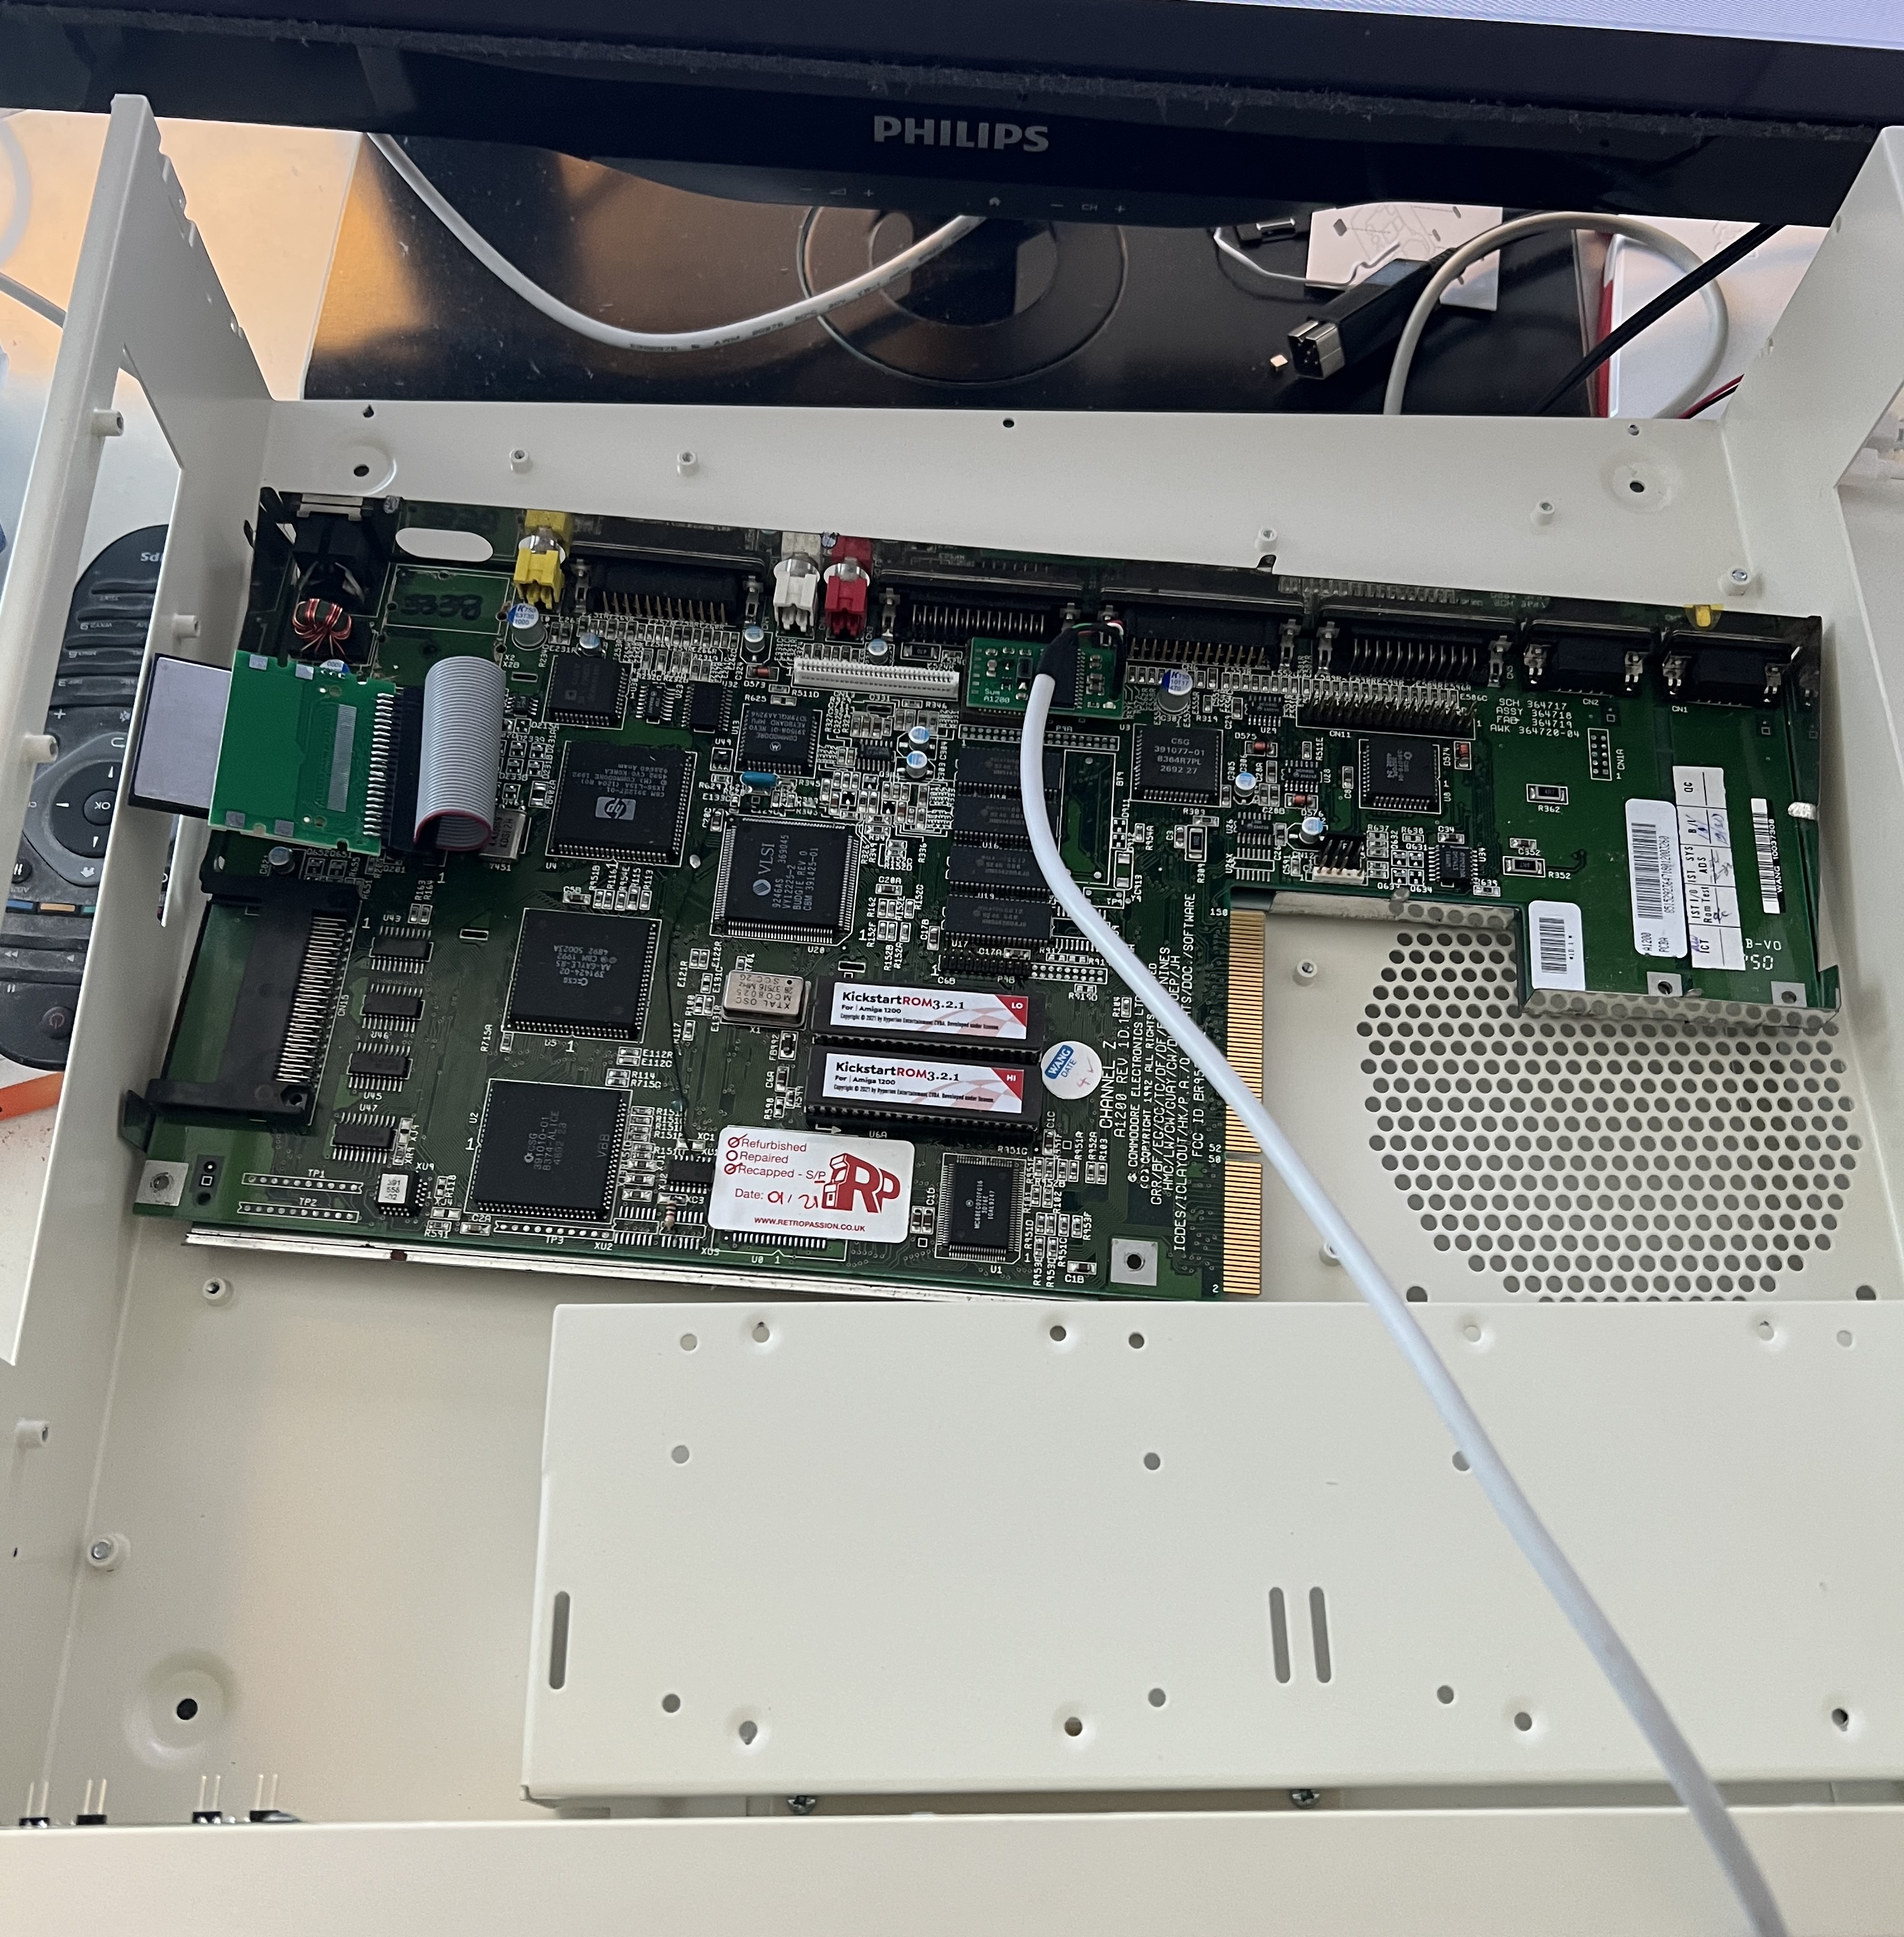
My Amiga 1200 is fairly standard, but with some improvements and expansions:
- Polymer capacitors. Recapped by RetroPassion (shoutout, not affiliated). Recapping is necessary to keep the machines alive, and avoid the old capacitors leaking and destroying your motherboard.
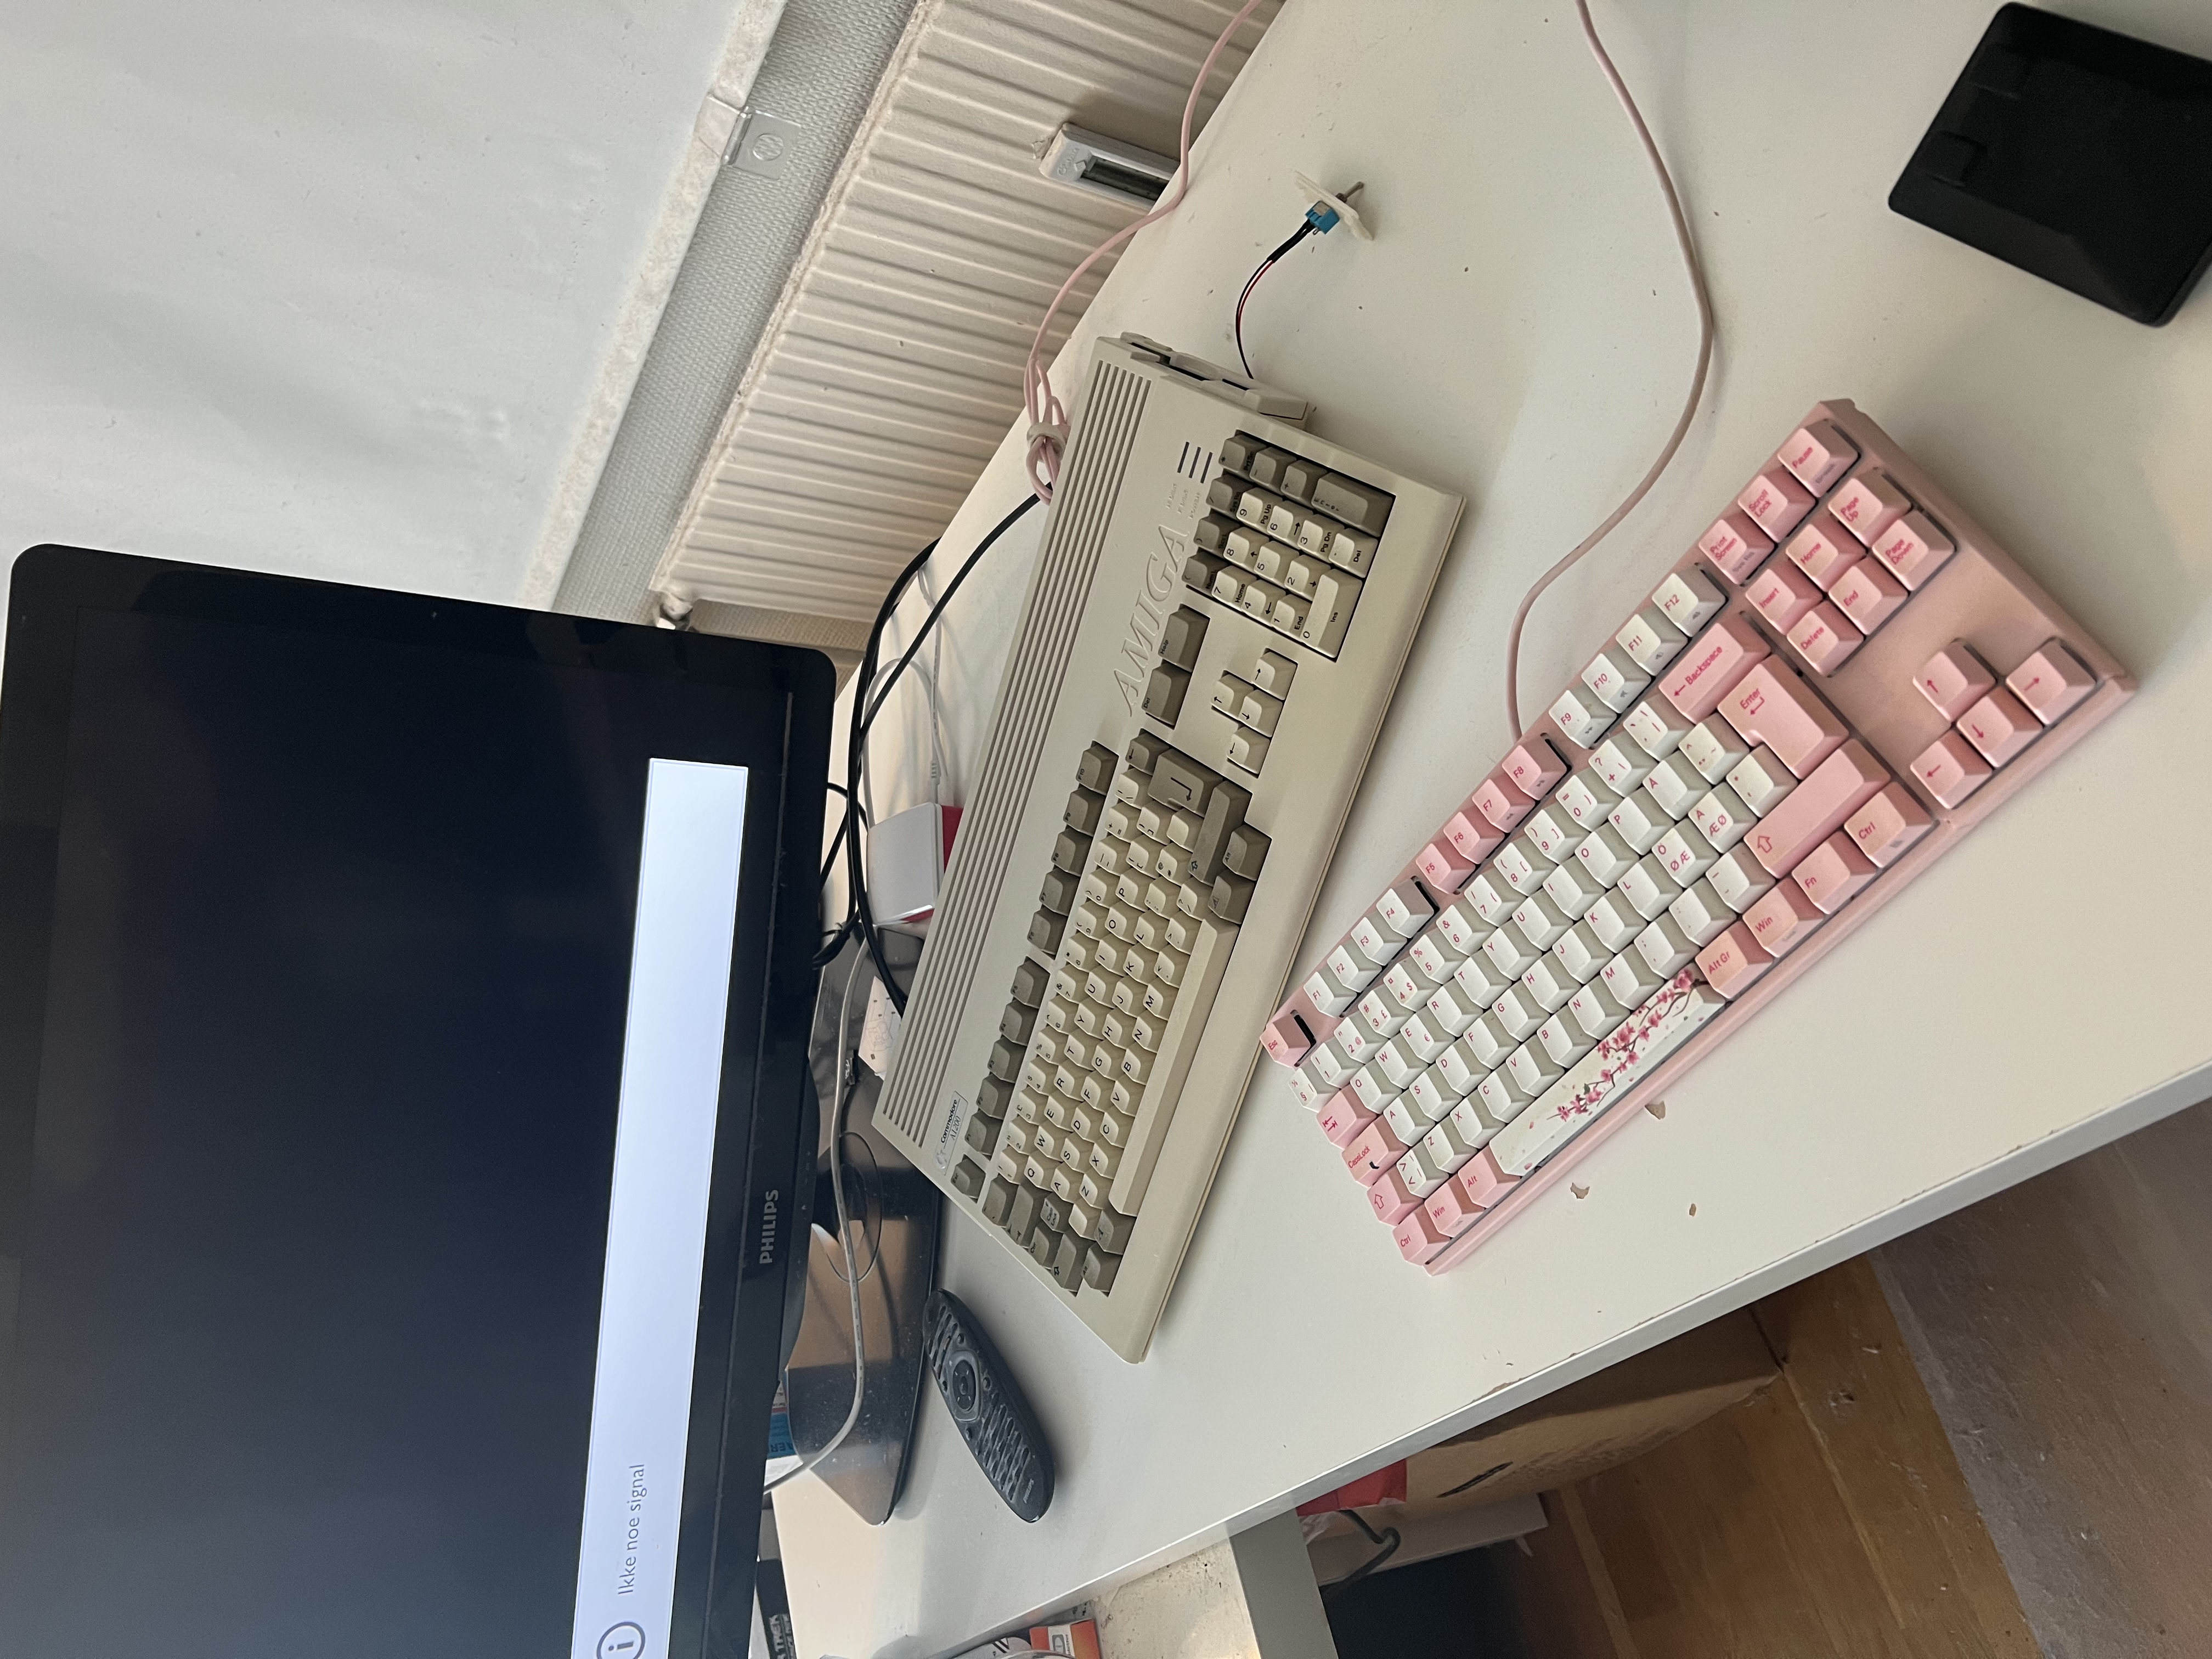
- SUM USB Keyboard adapter. This plugs over the U7 chip on the motherboard, and lets me use a regular USB keyboard. As you can see in the later pictures, it has a long cable that doesn't really fit anywhere. For now, both before and after the build, it dangles out the case…
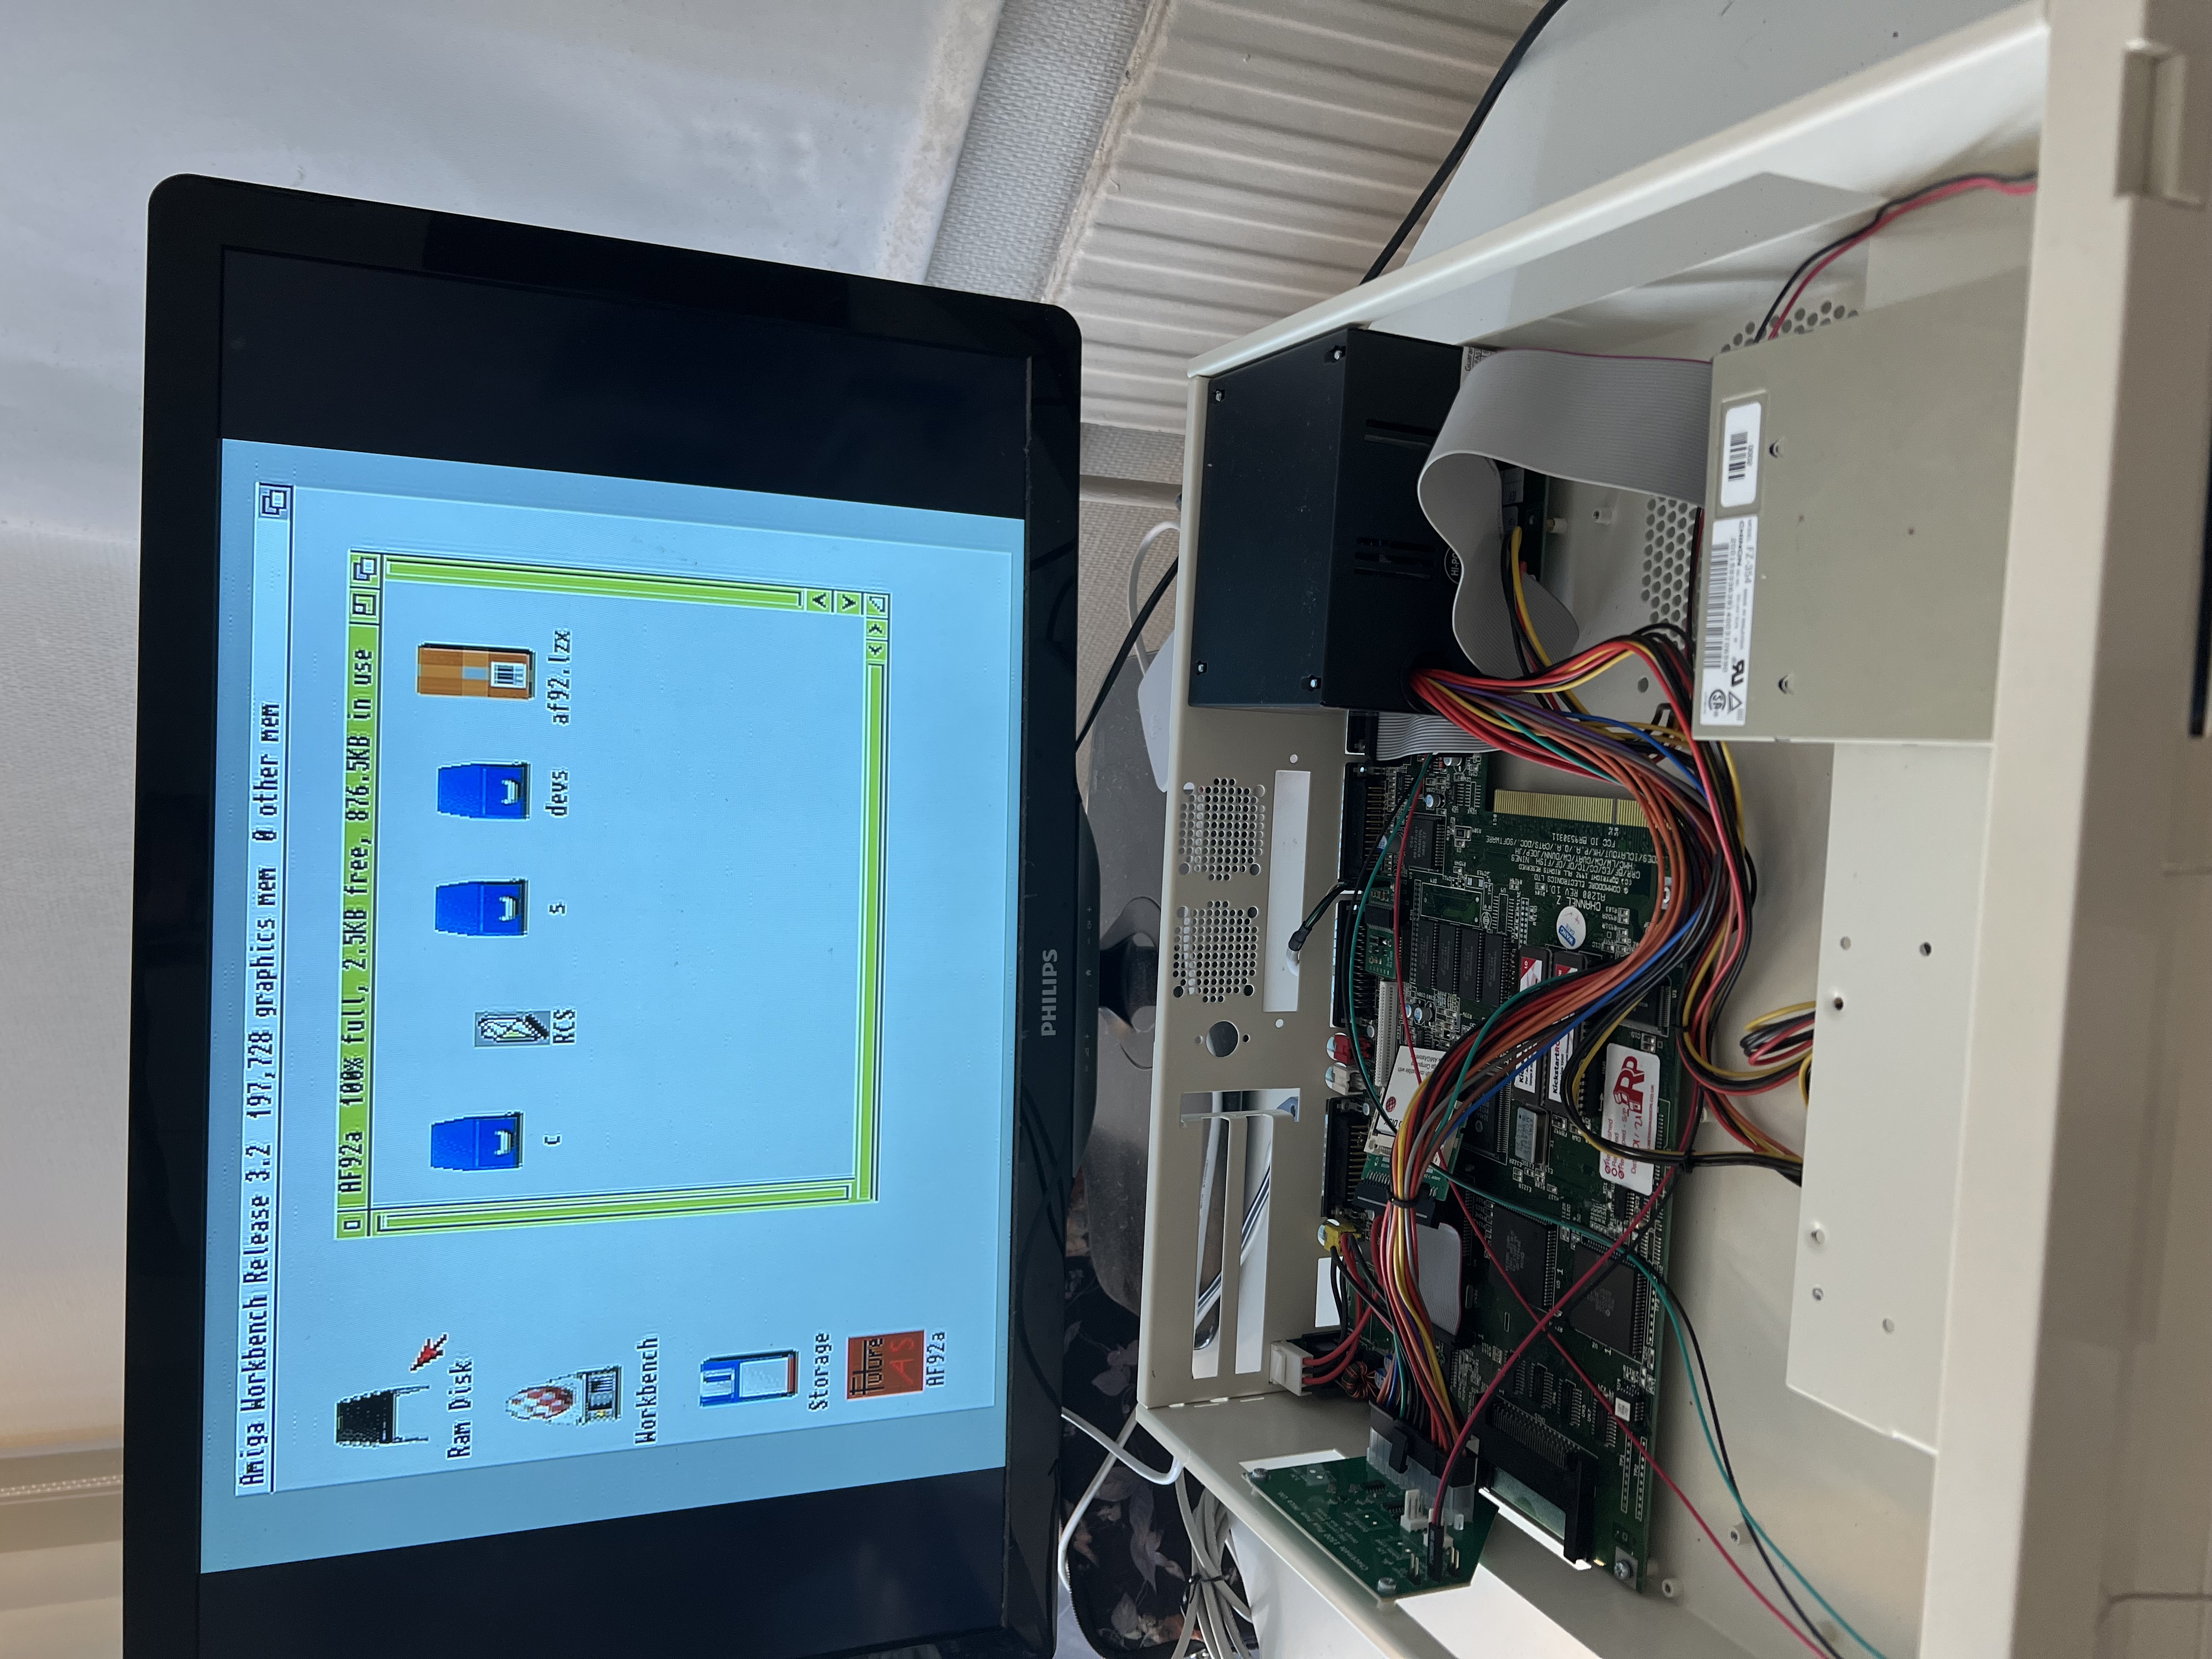
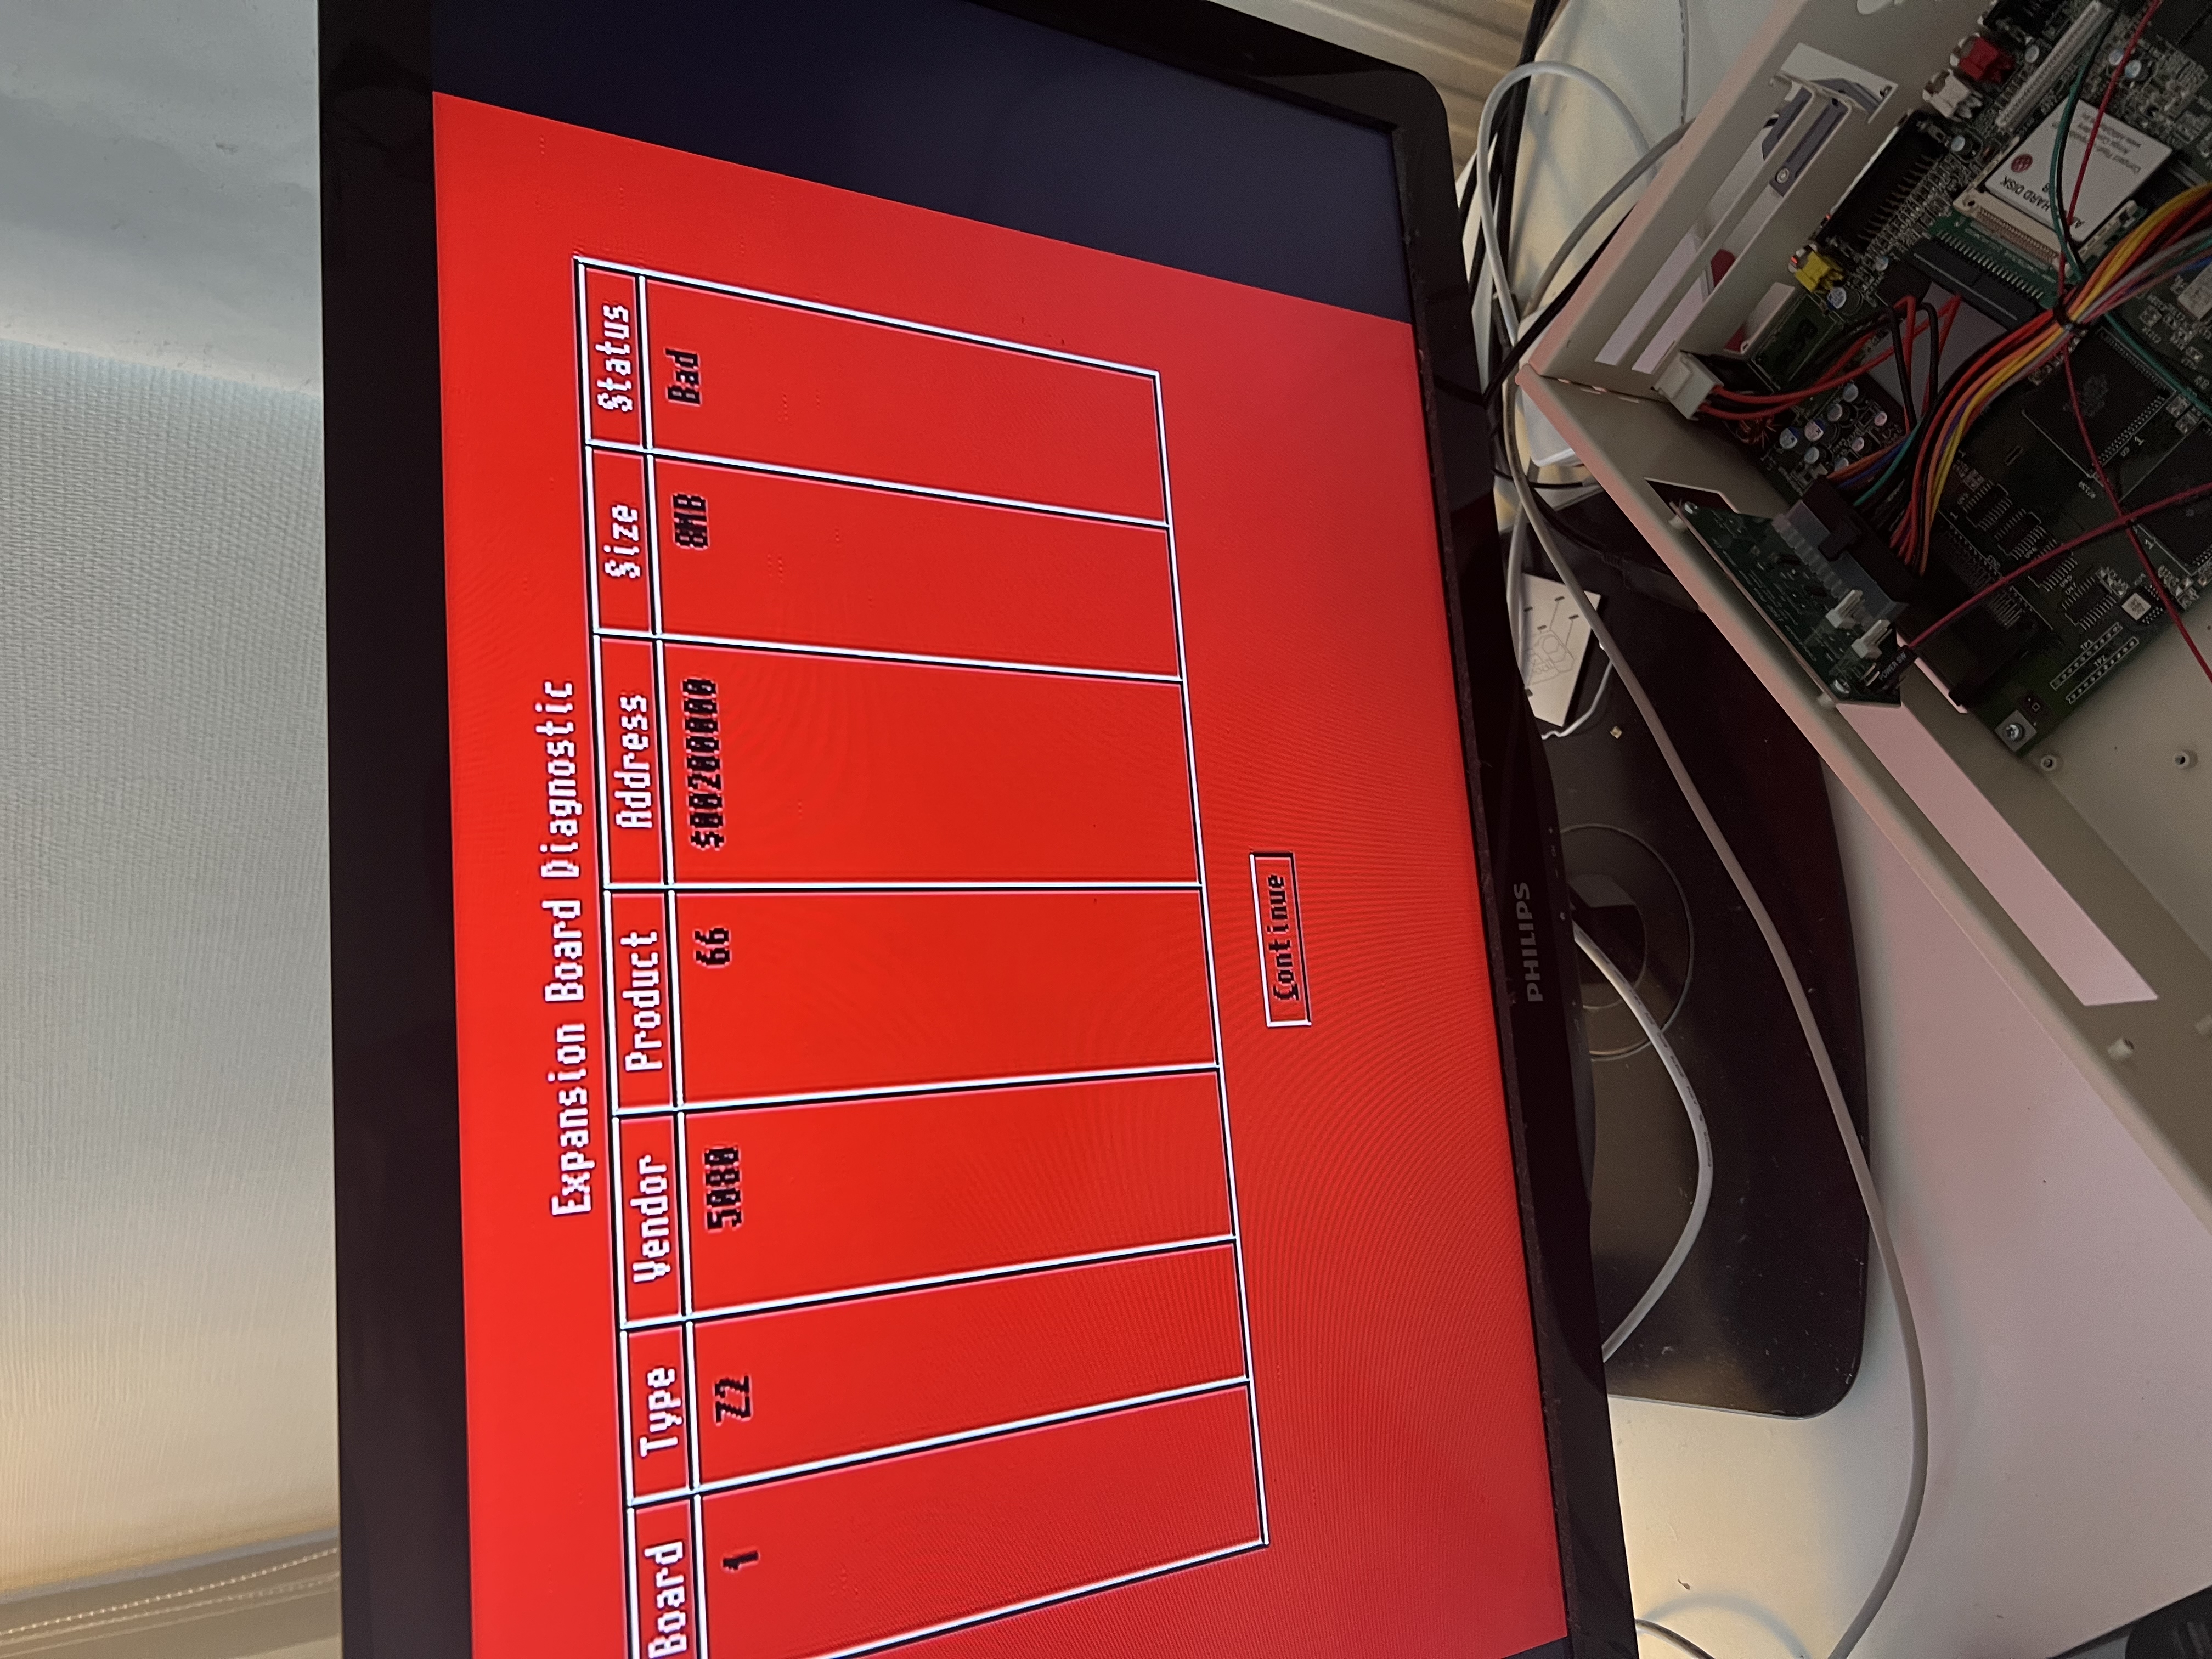
- 8MB RAM Expansion card with FPU
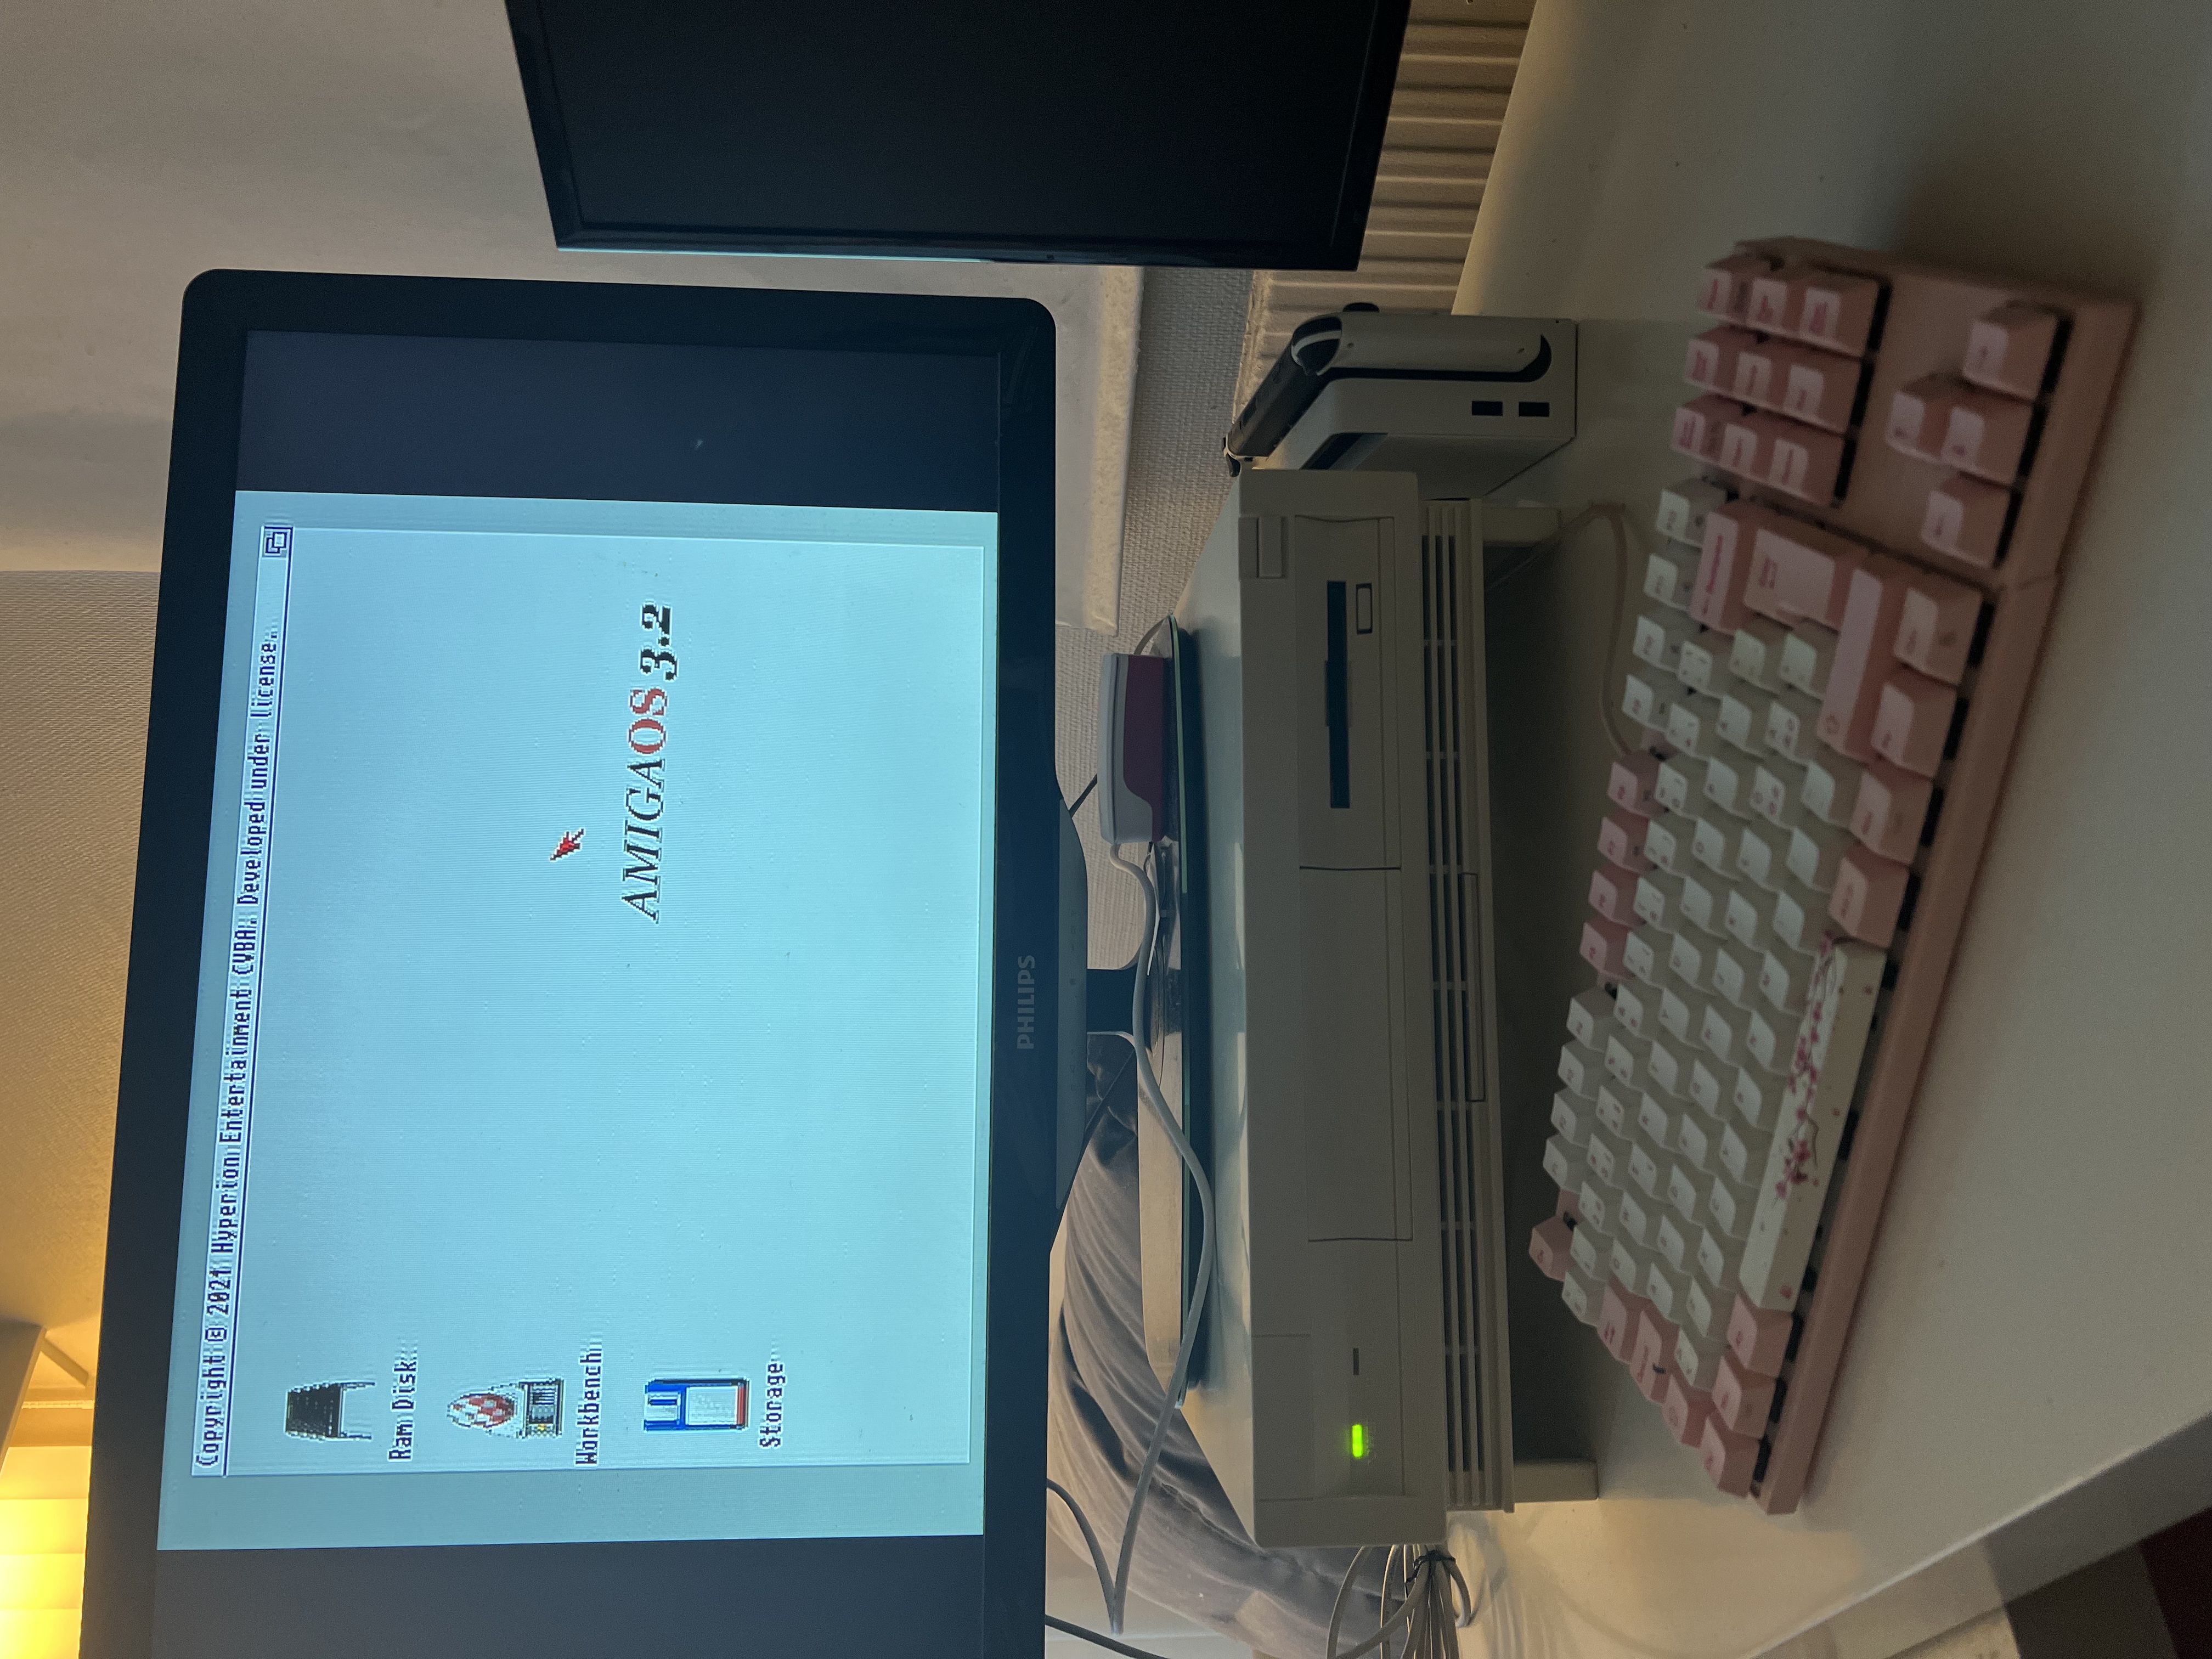
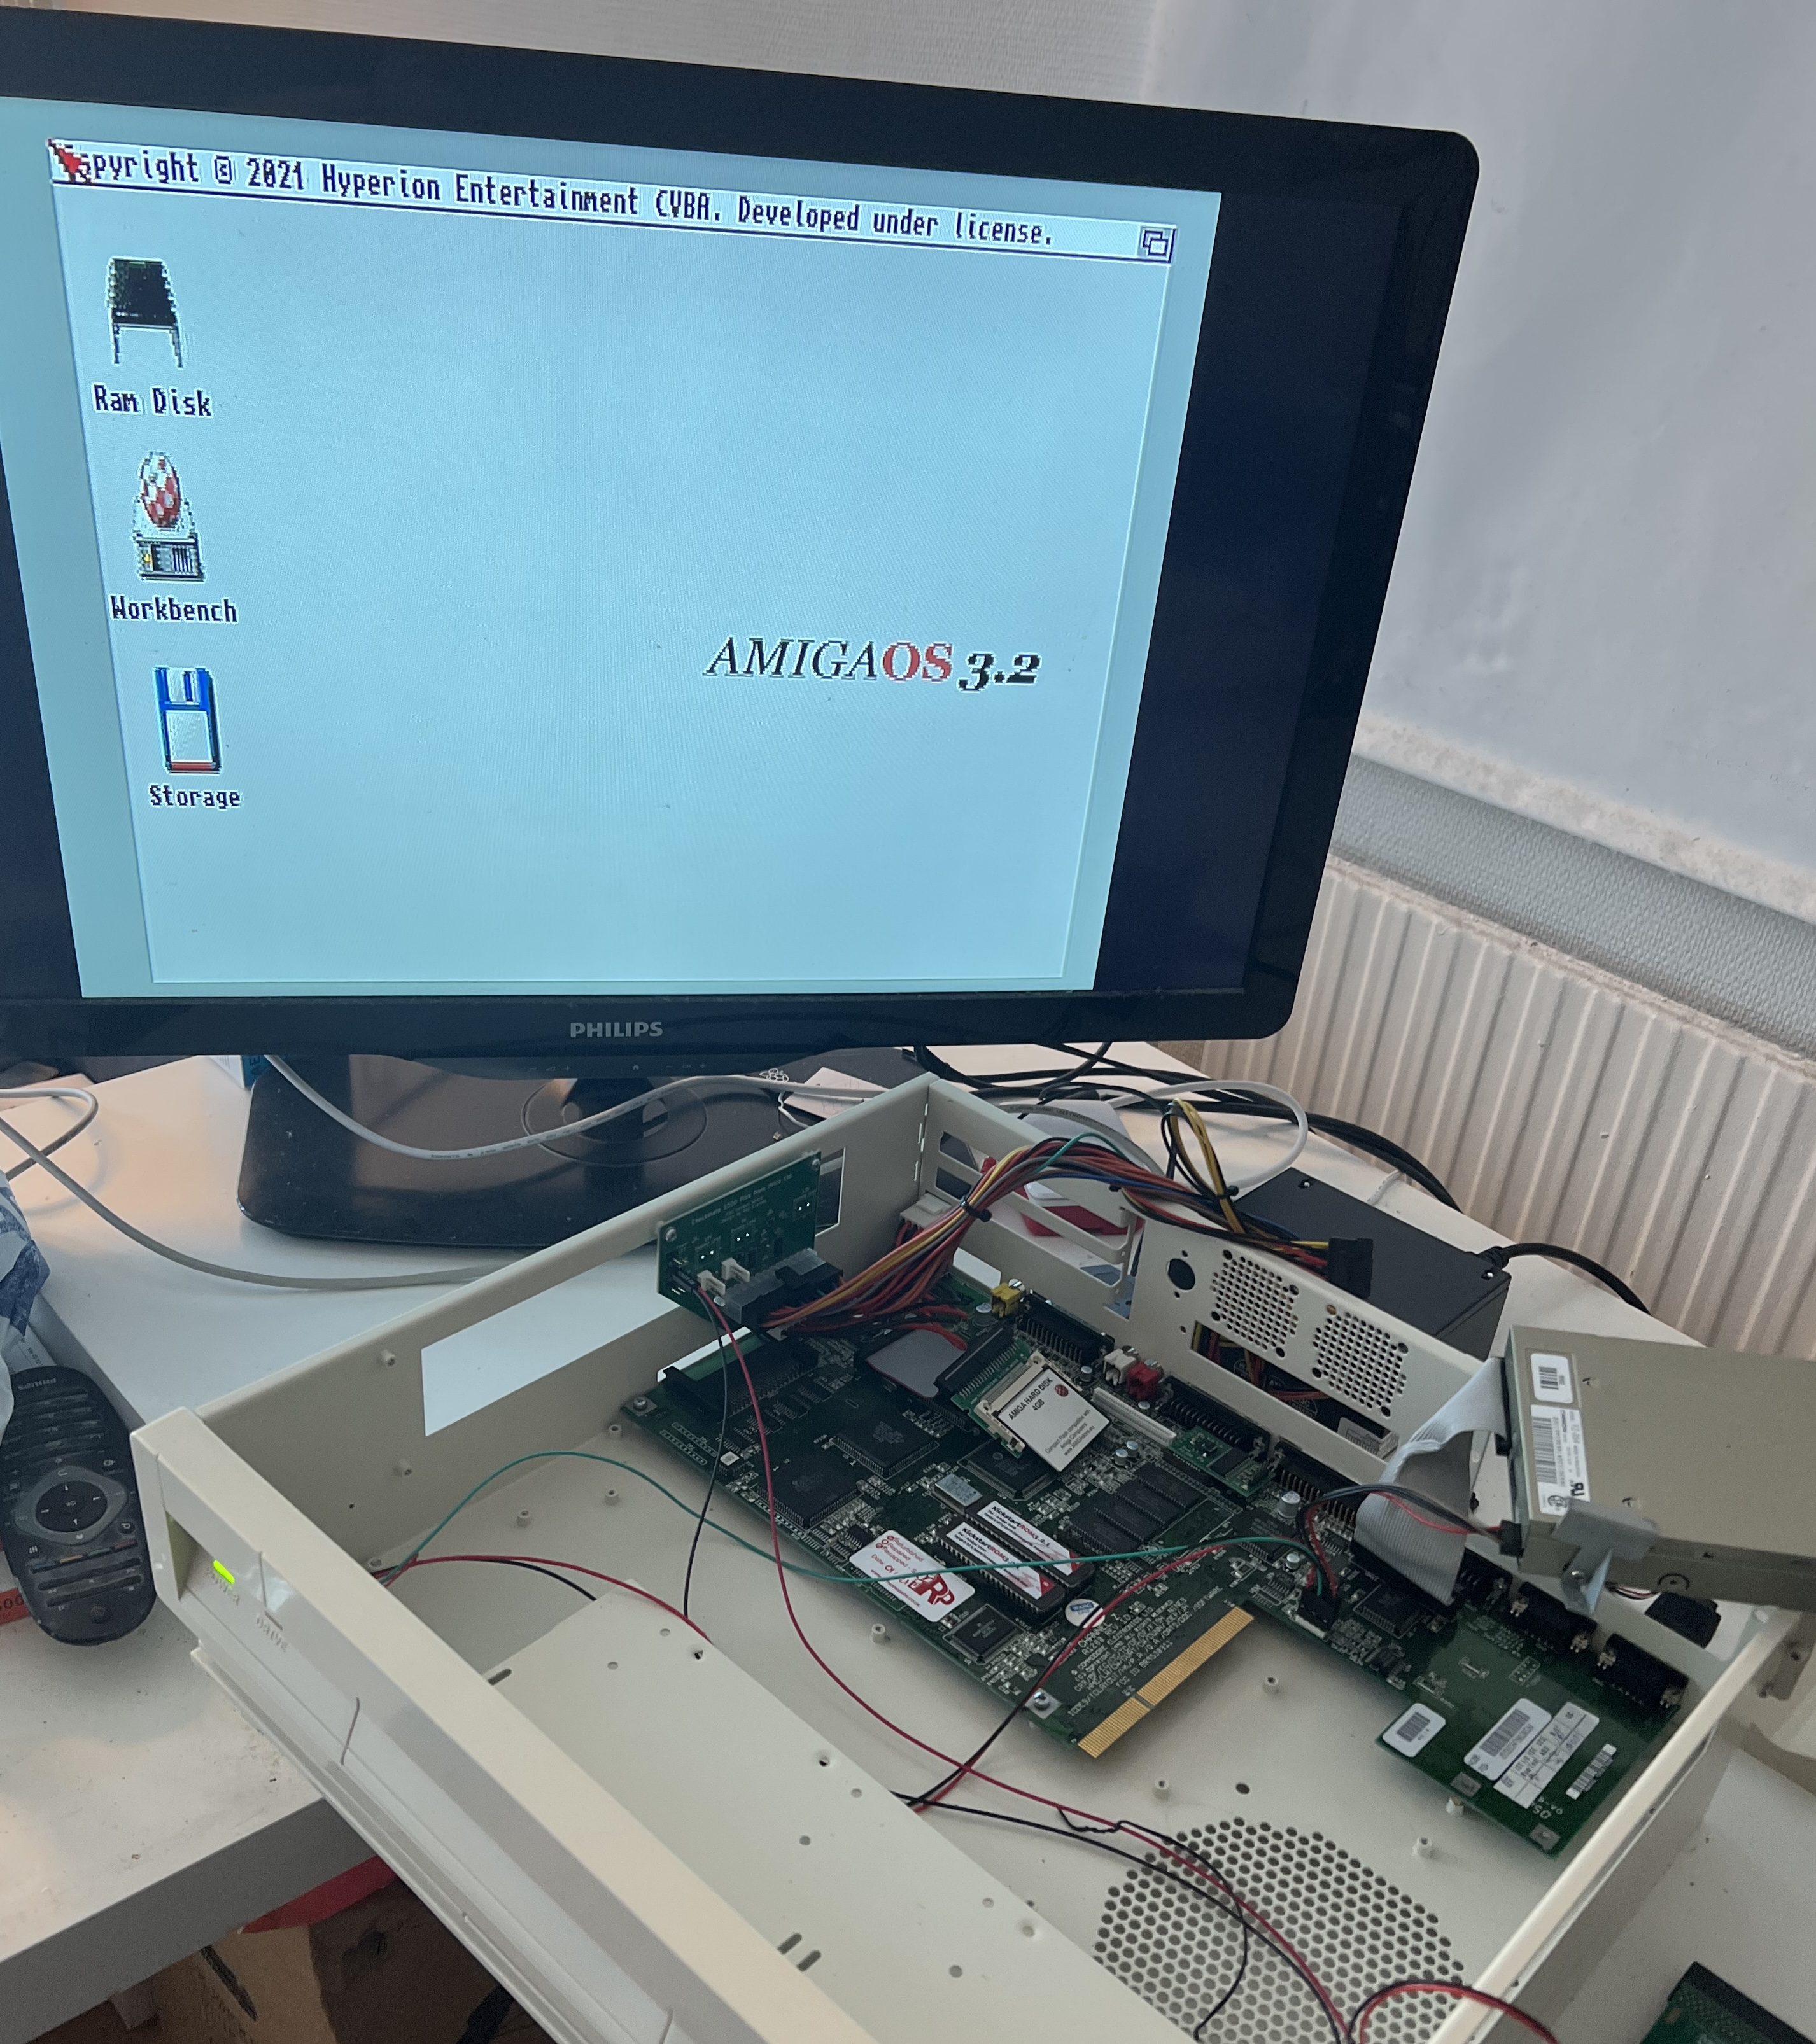
- Amiga OS 3.2. Not super important for the build, but if you are not using it yet, what are you even doing?!?
- Plipbox for internet access. I use Roadshow for TCP/IP stack and so on. I have tried various PCMCIA solutions, but none have worked. The wireless card did not work for WPA2 encrypted networks, so back to ethernet based Plipbox it is…
I also used to briefly use a Indivision AGA MK3, but managed to set it to an invalid display mode. Forgot to make a backup disk. Plan on replacing it anyway, so might just sell it cheap to someone.
Now to the actual build!
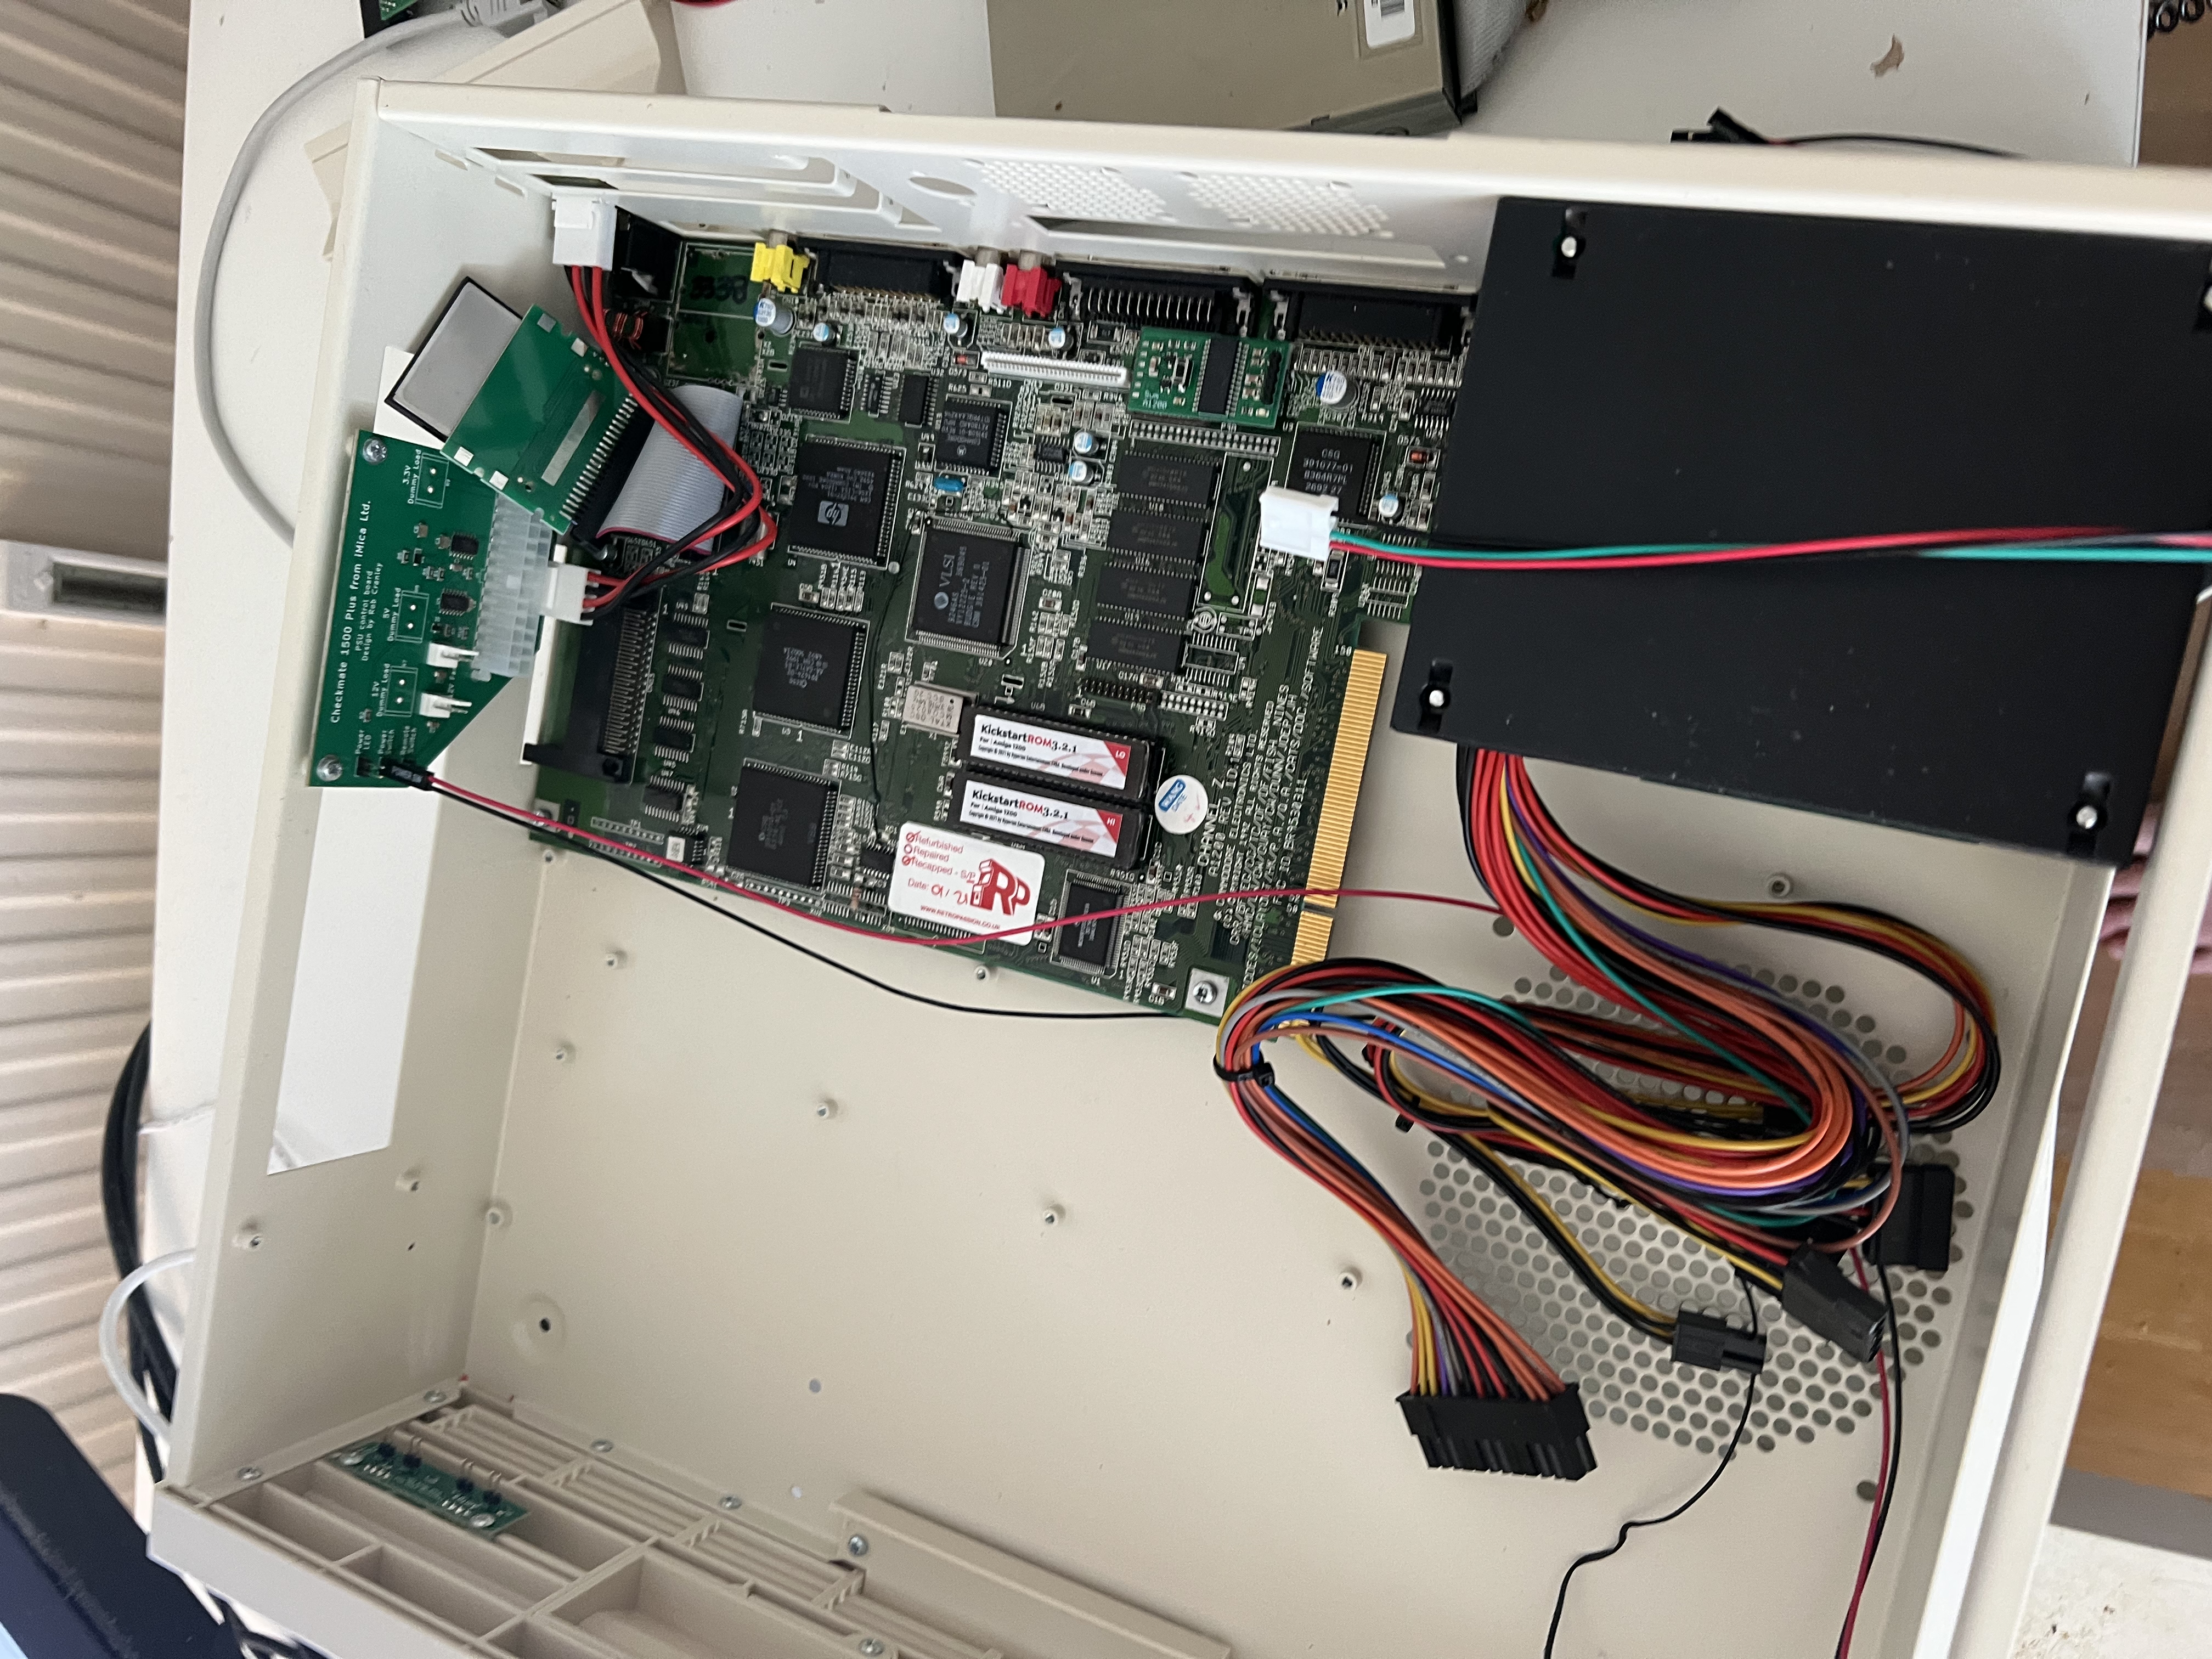
The build(!)
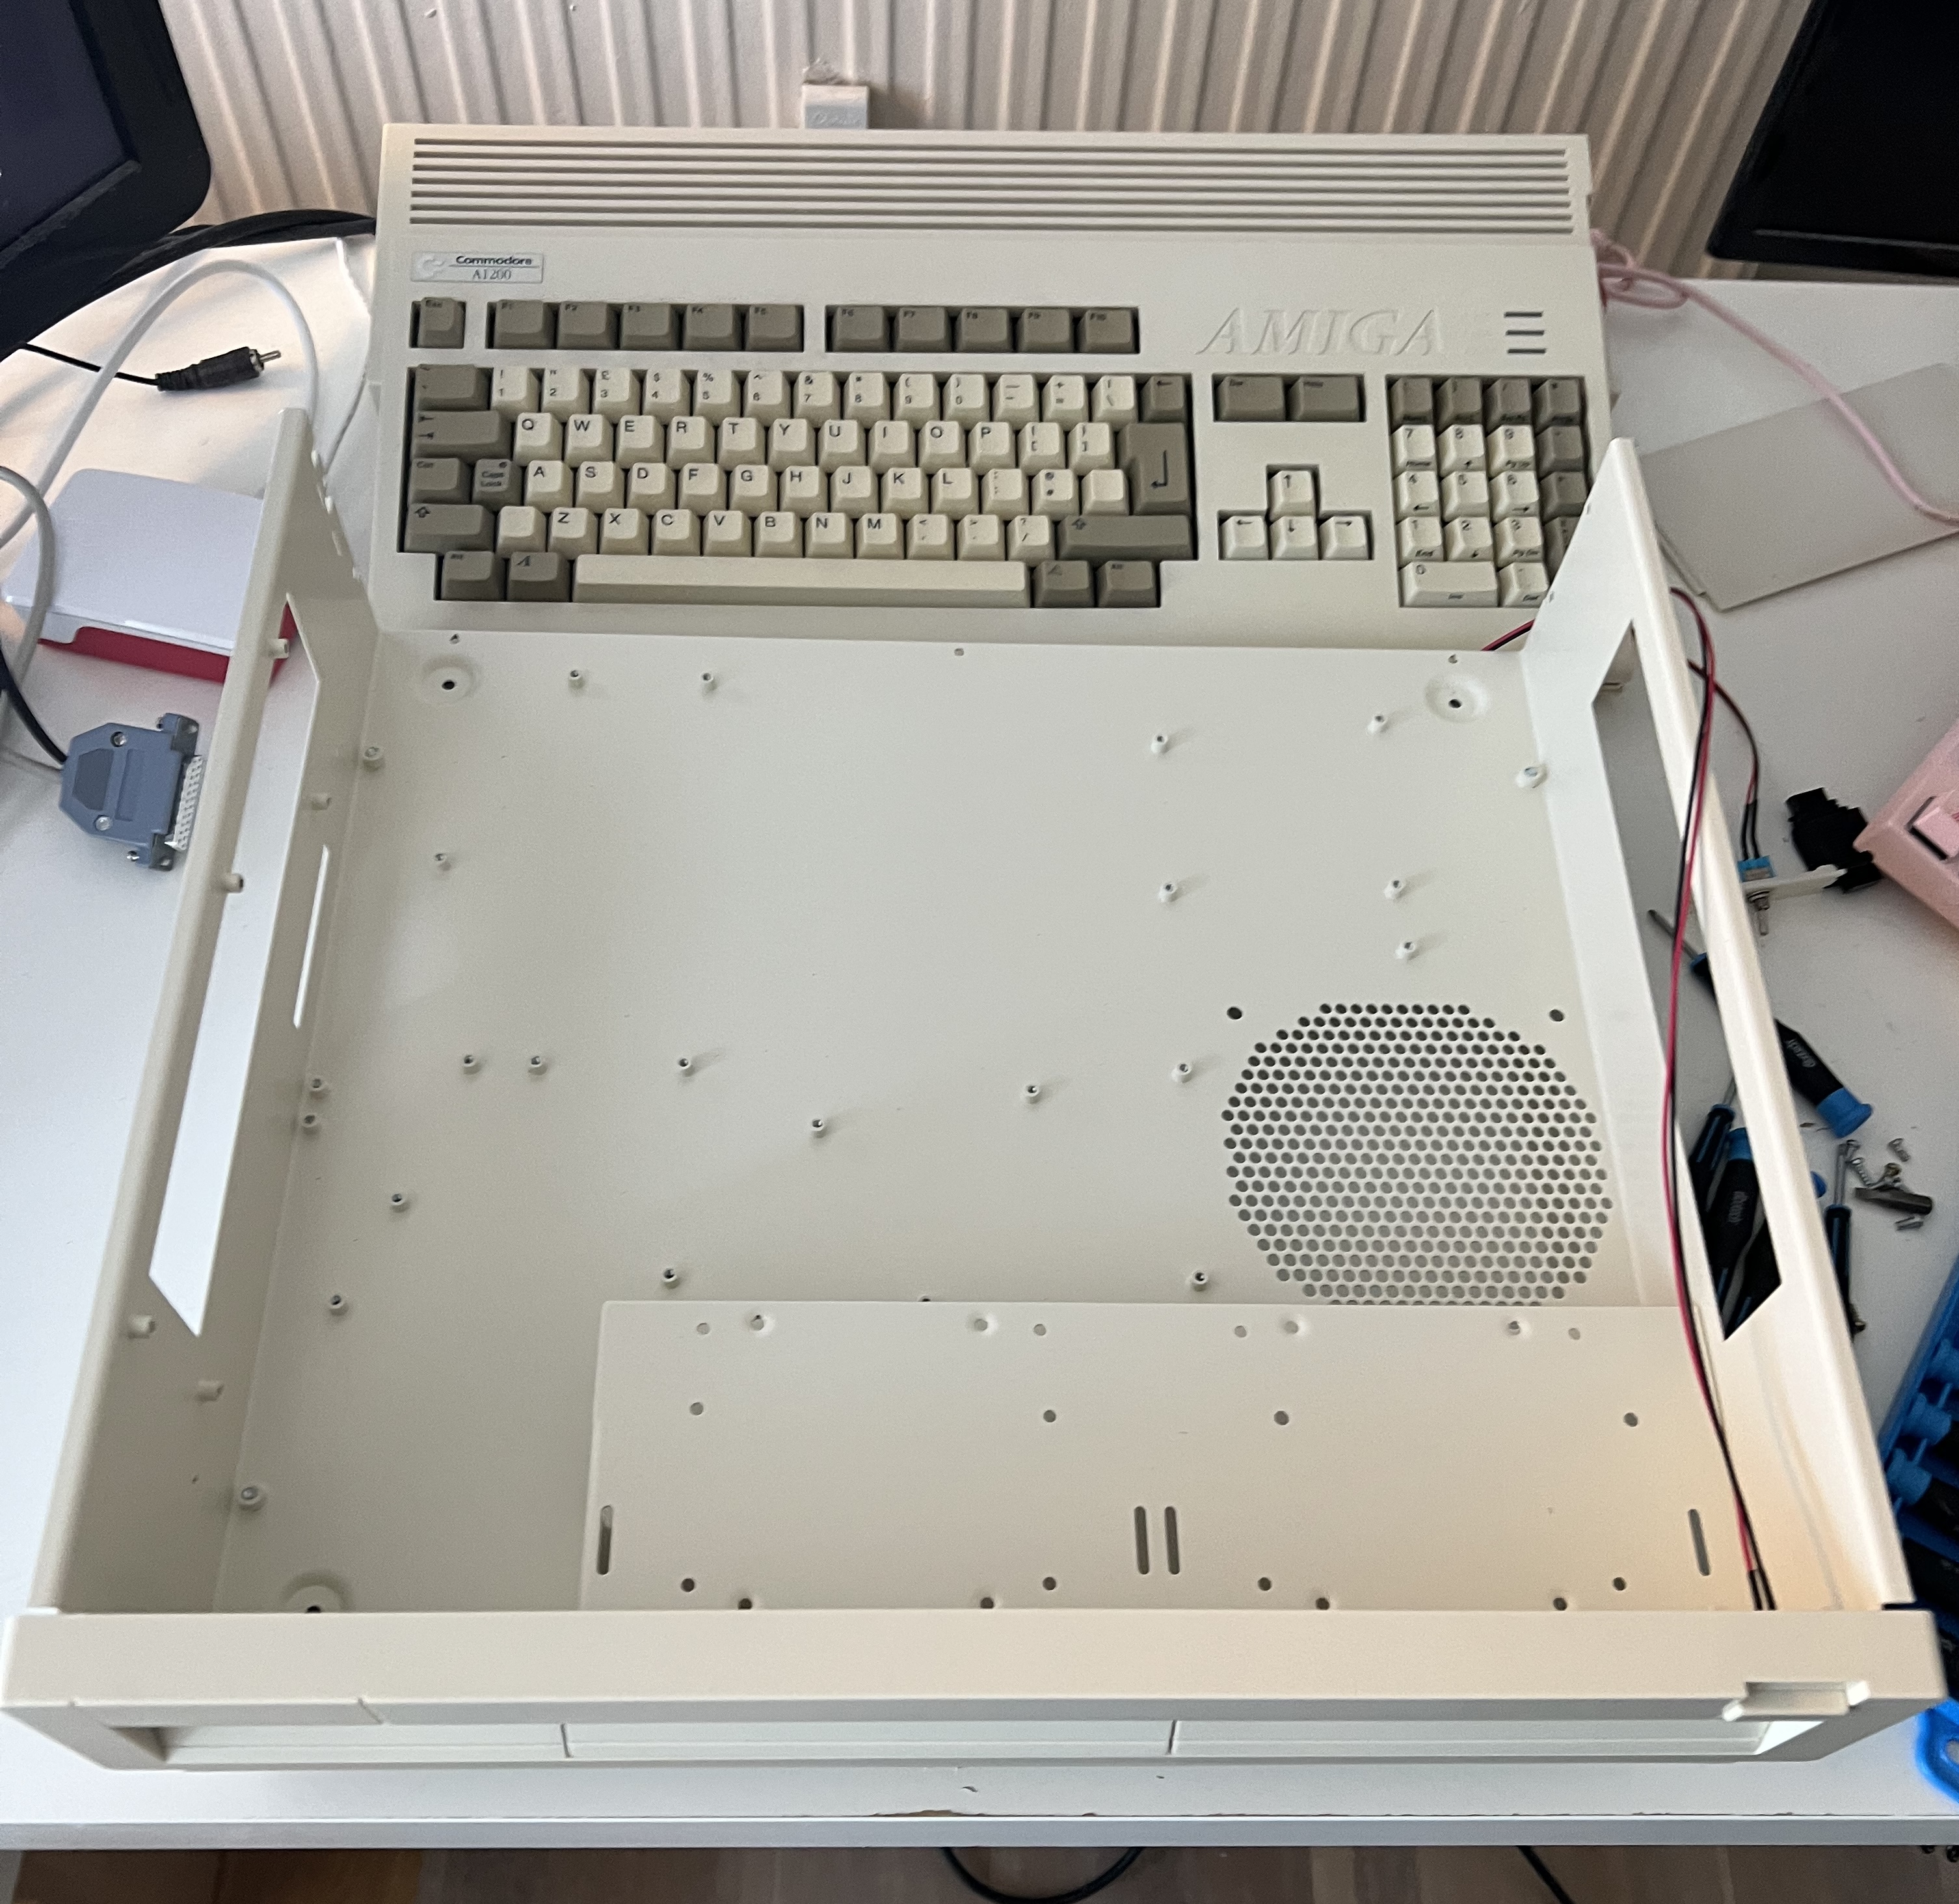
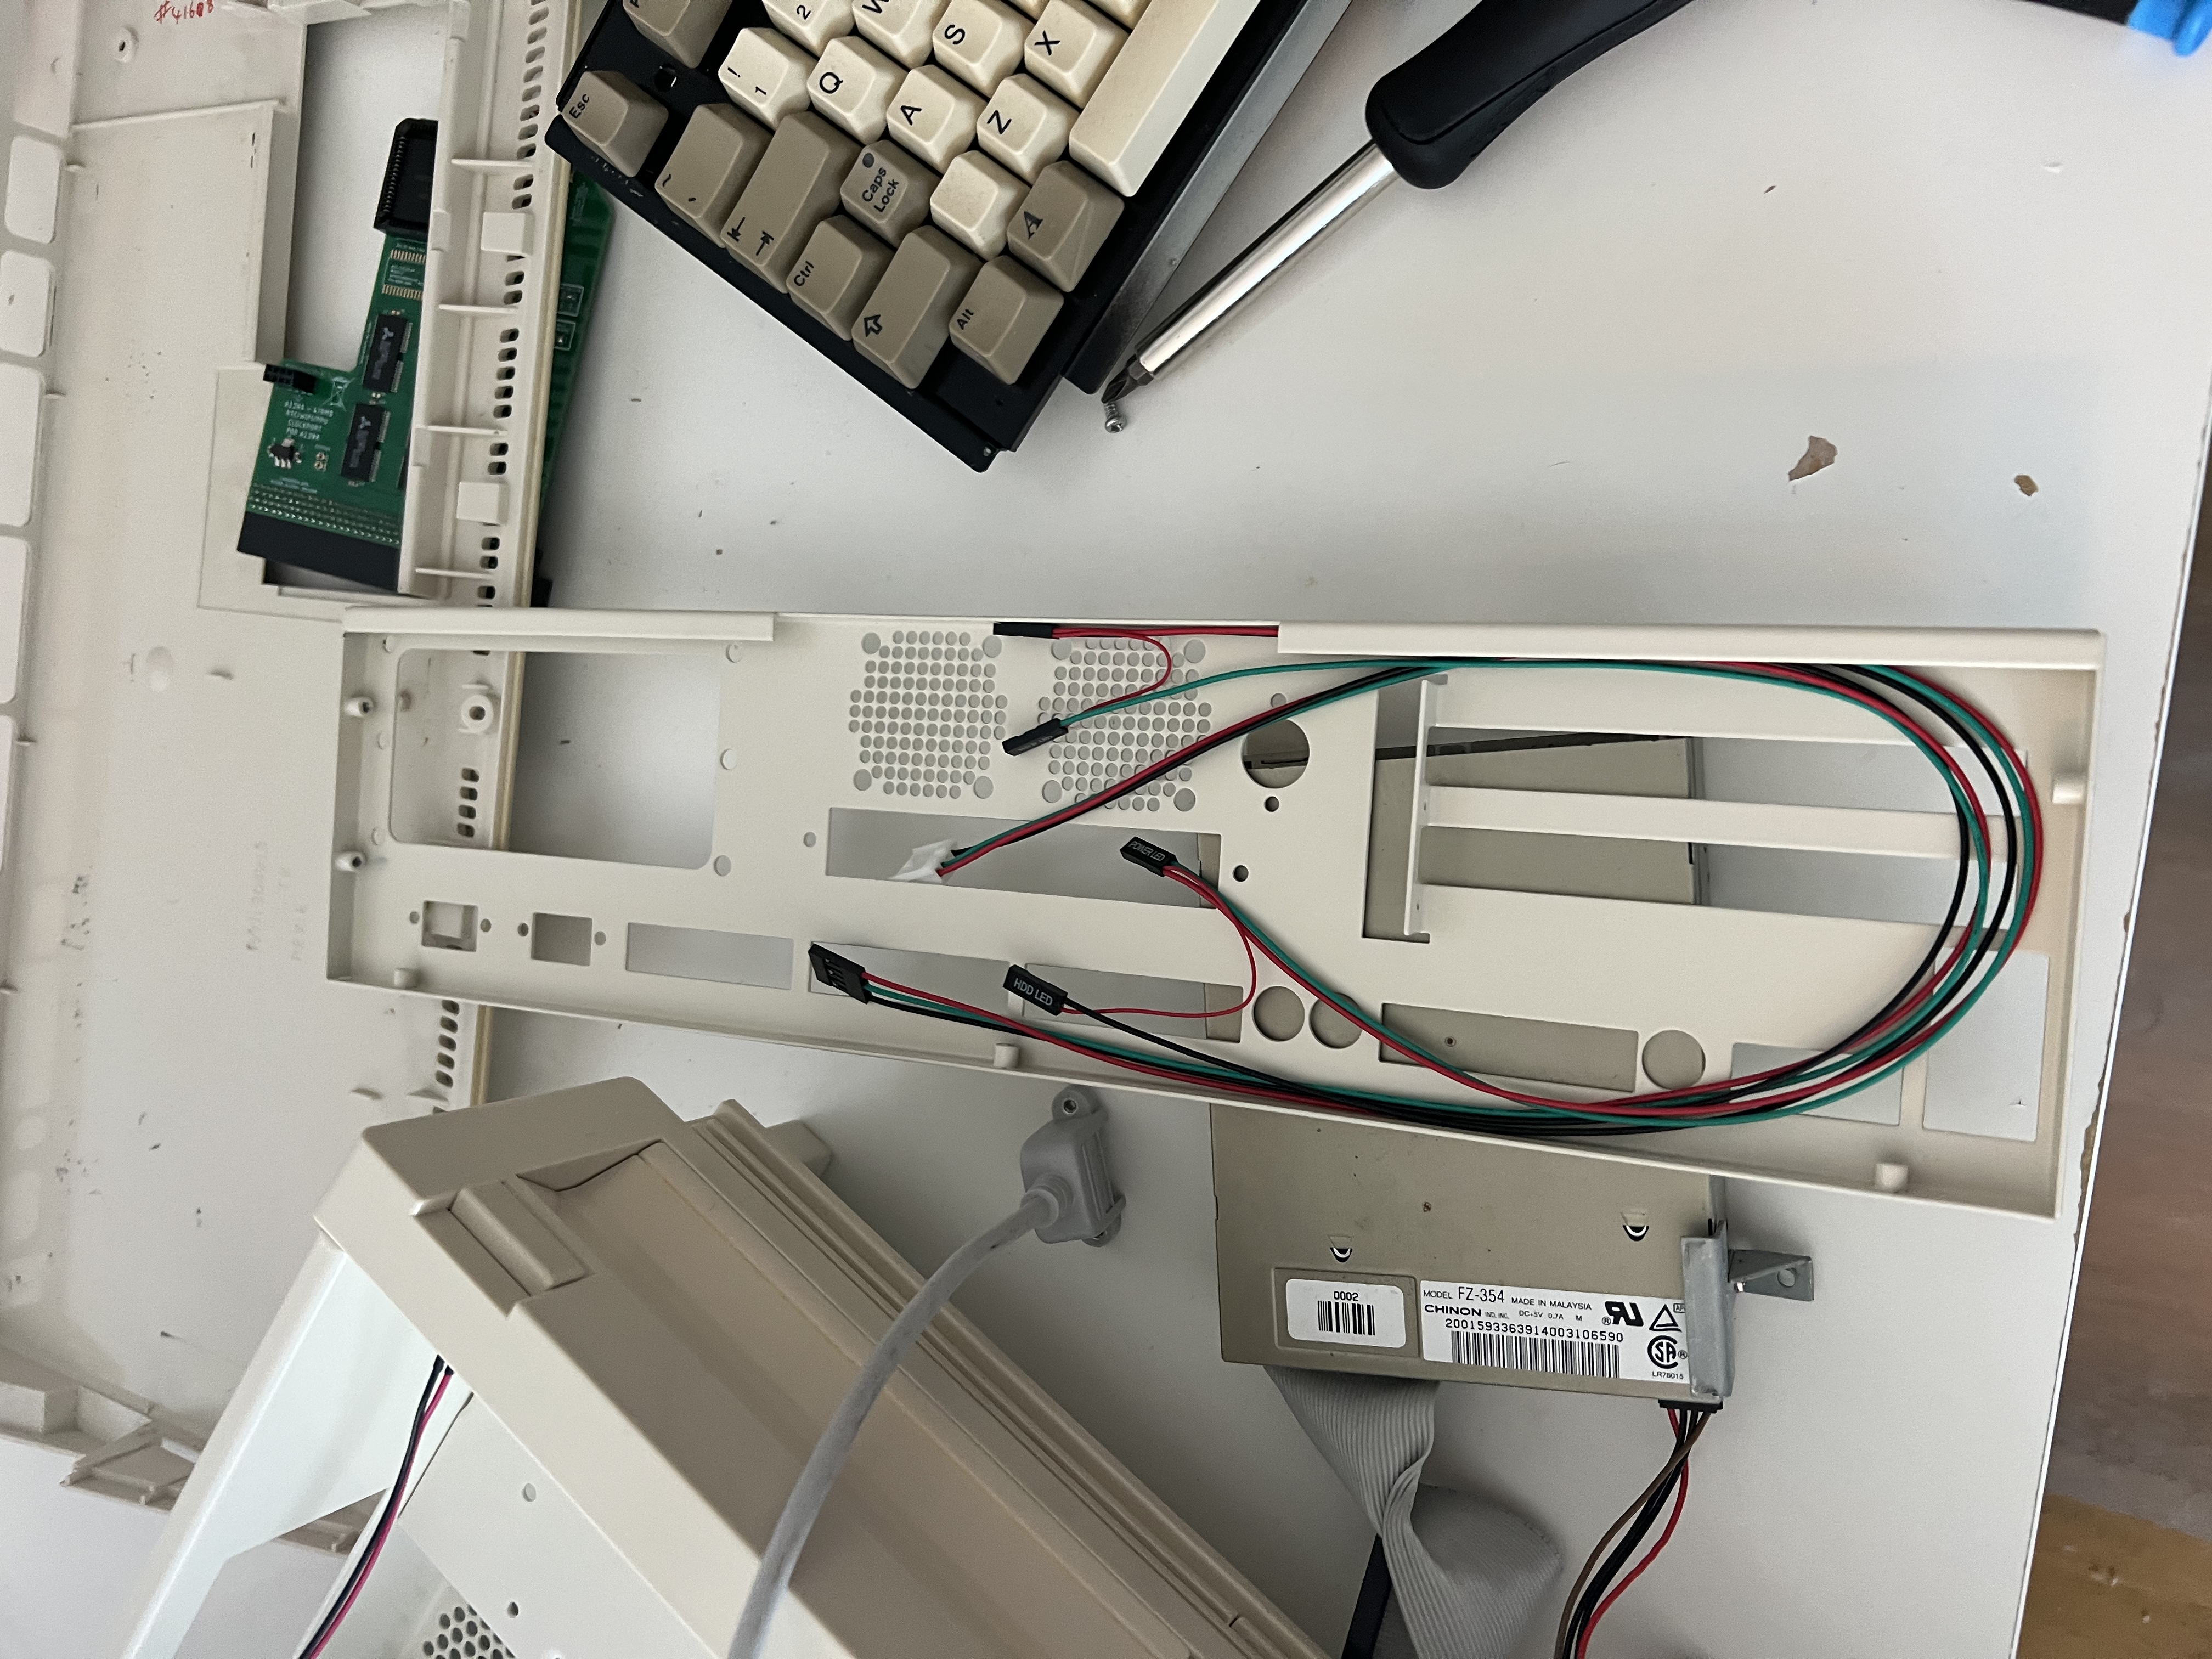
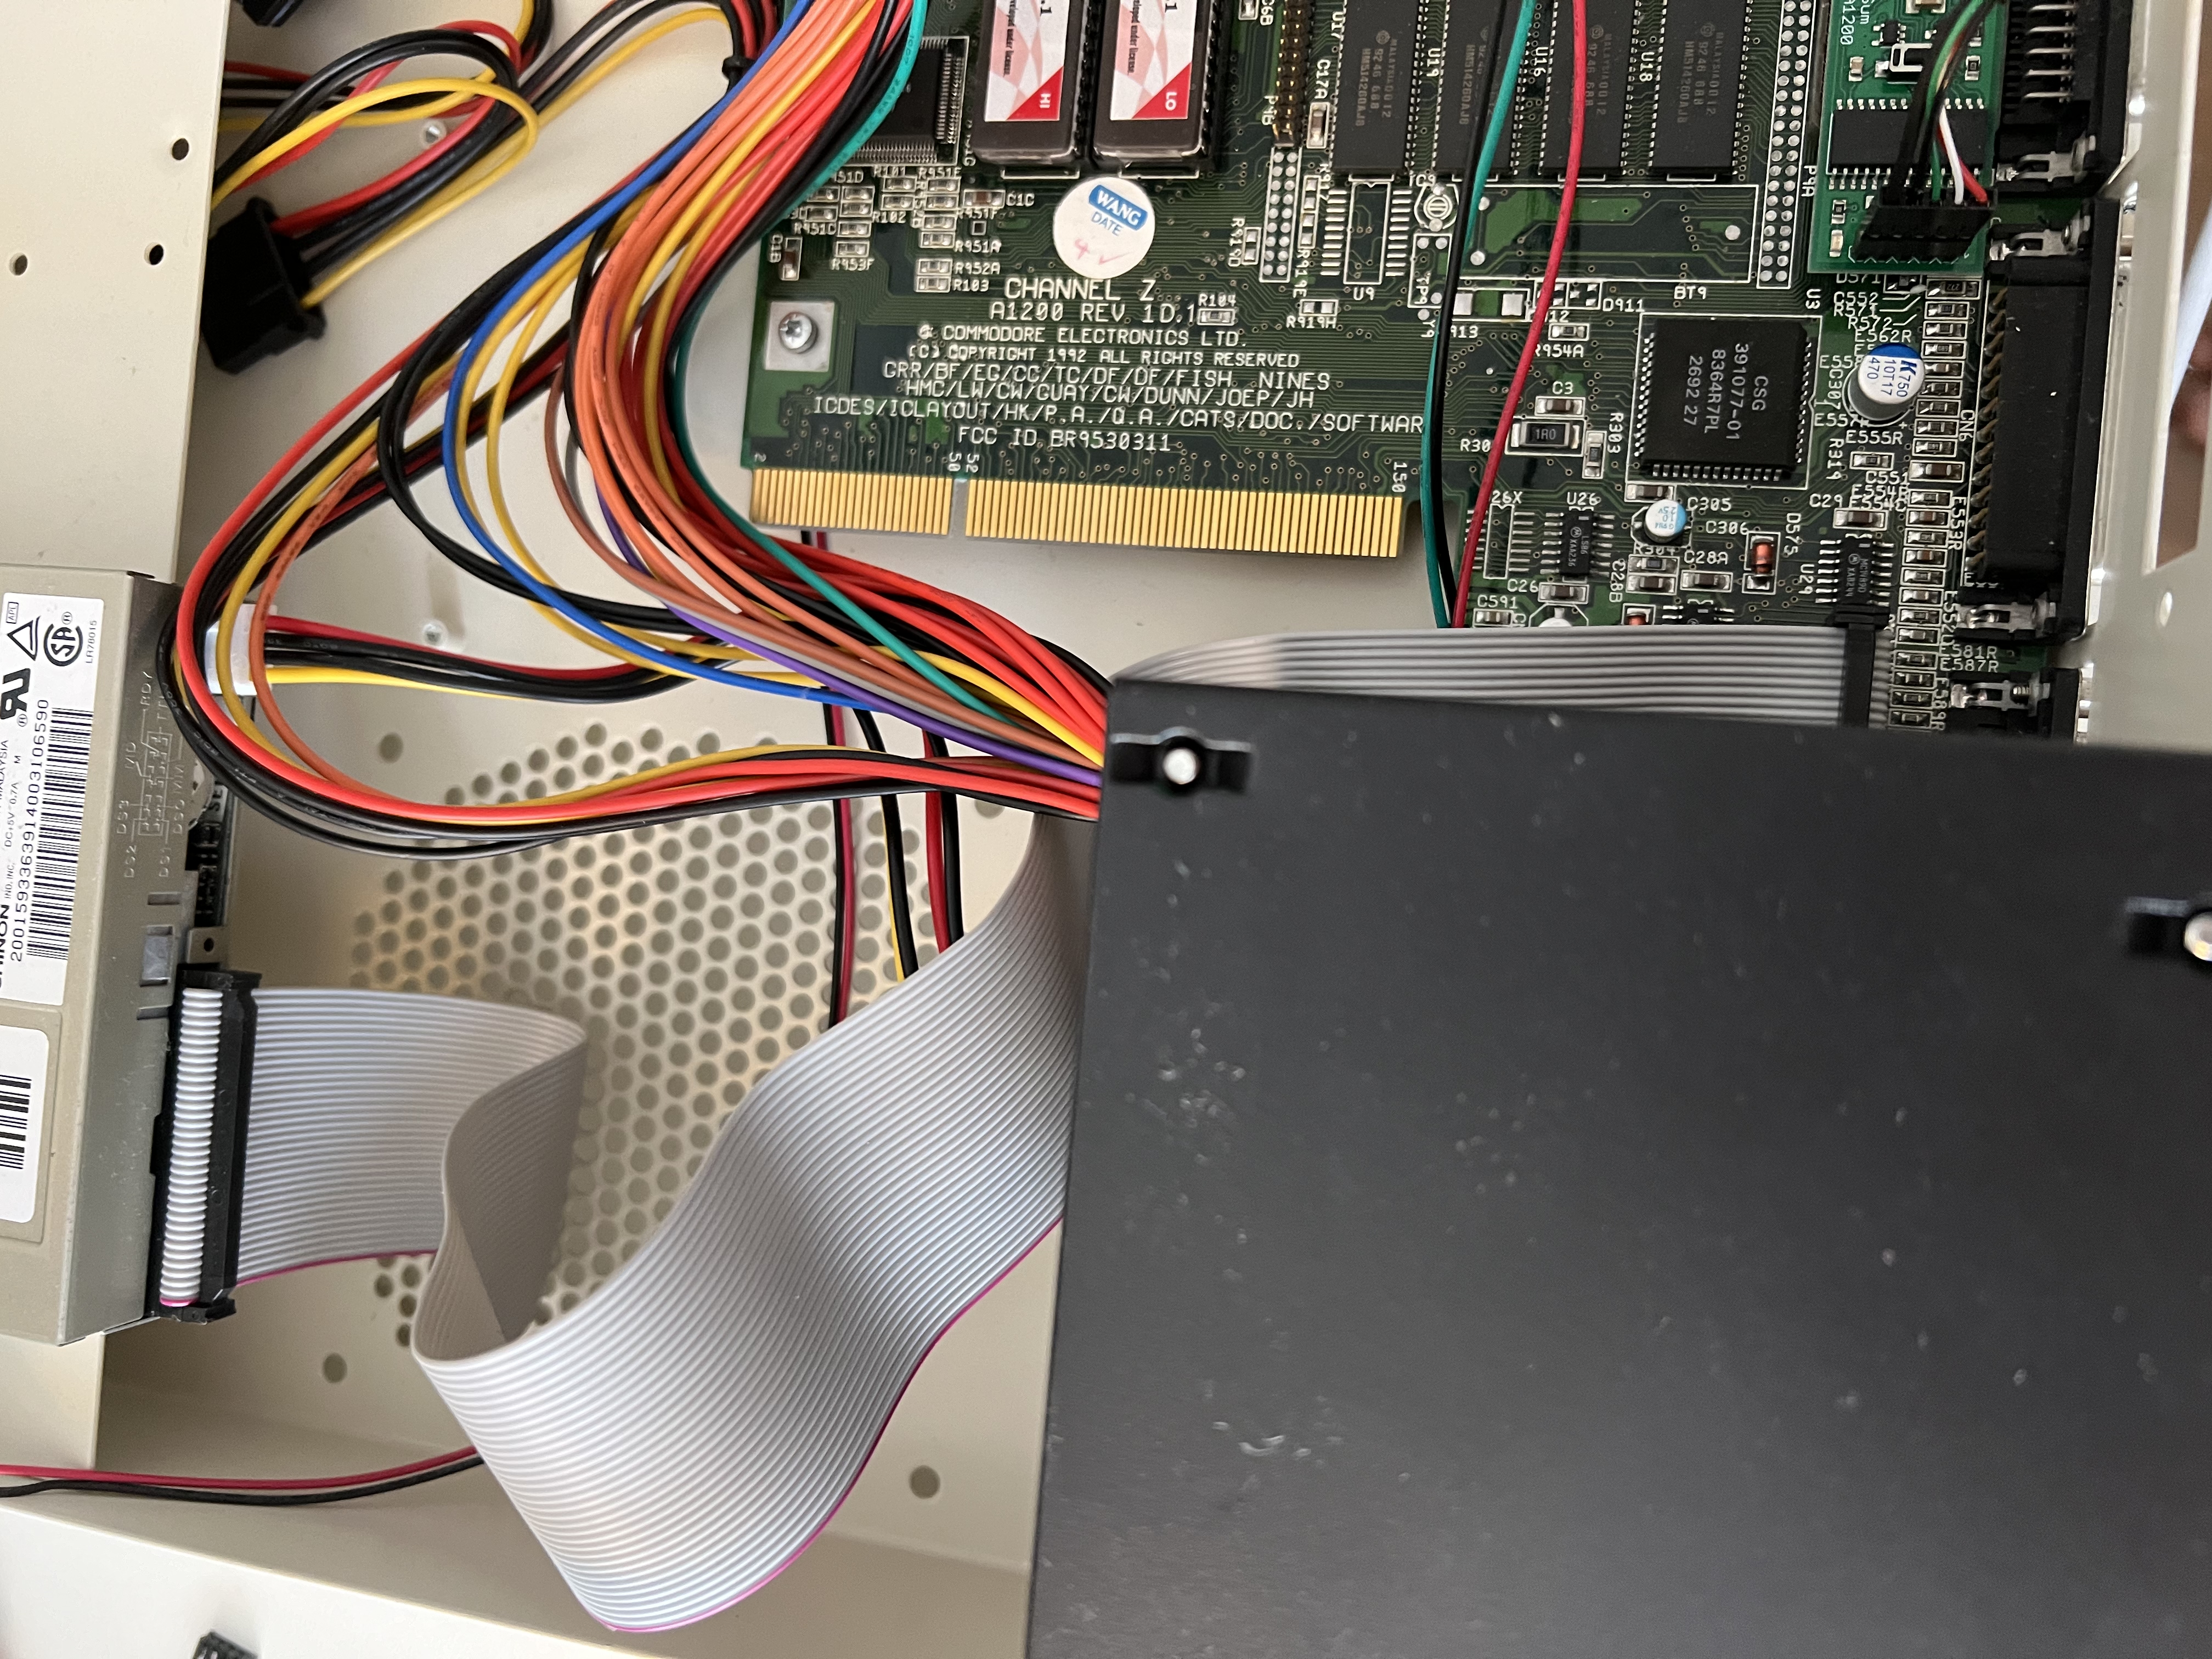
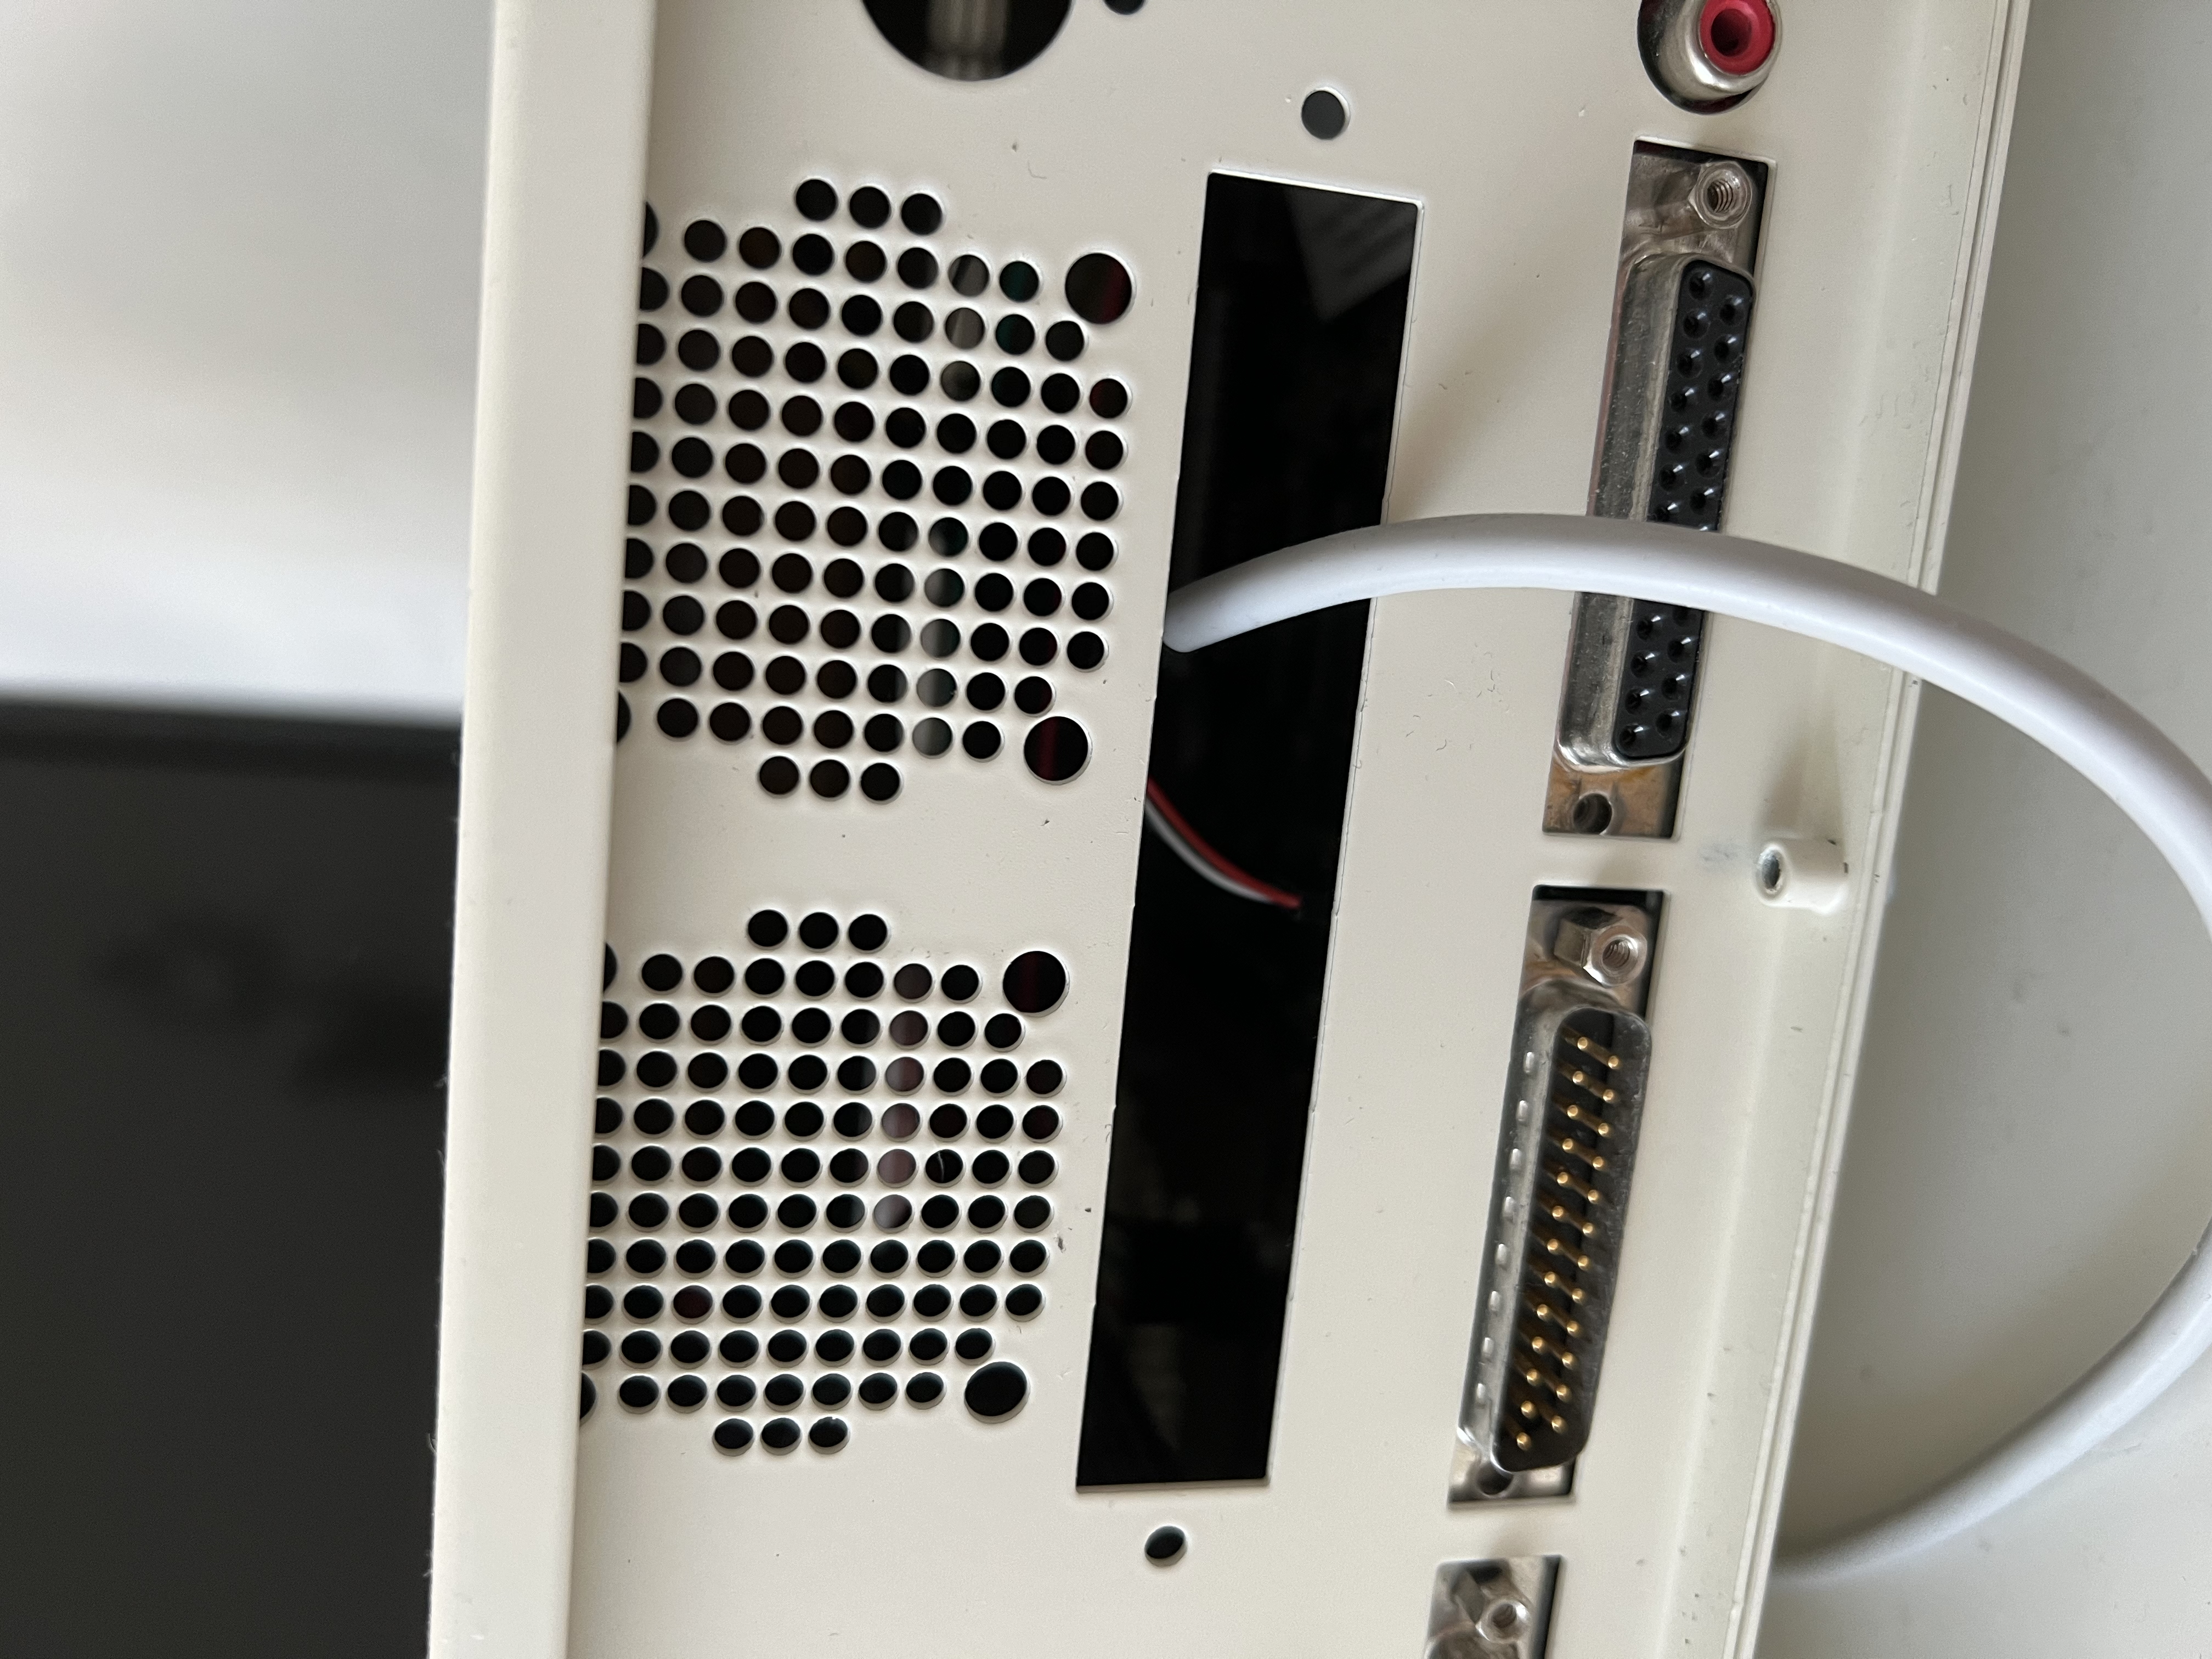
The build is probably best experienced with some images:
(click on an image to get a gallery view with even more images!)
Some notes about the build:
- The RF shielding (aka the metal plate at the back of the Amiga 1200 motherboard) needs to be removed for it to fit the Checkmate 1500 Plus case. This is probably not that visible in the images. For this to be done, the header plate screws needs to be removed. (this is the screws that are at the sides of cables like VGA to tighten the grip of the cable which a lot of you might be used to. It is the same for almost all input at the back of the Amiga). A little tedious, but doable.
- The power supply is a modern one, and is connected through a plug that plugs directly into the power input on the back of the Amiga 1200 motherboard. This looks a bit wonky, but works great!
- I forgot that the floppy drive cables might be too short, so had to wait a few weeks for new ones to arrive… Order new ones if you only have the ones that are already in your Amiga!
- The floppy drive uses the same riser-screws as used to lift the motherboard. This is not visible, but if you don't do it, the floppy drive will not fit properly (i.e, the button and input will lie too low).
So now I have a nice machine on my desk that looks like the Amiga 1000 and Amiga 3000 had a baby :)
Future improvements
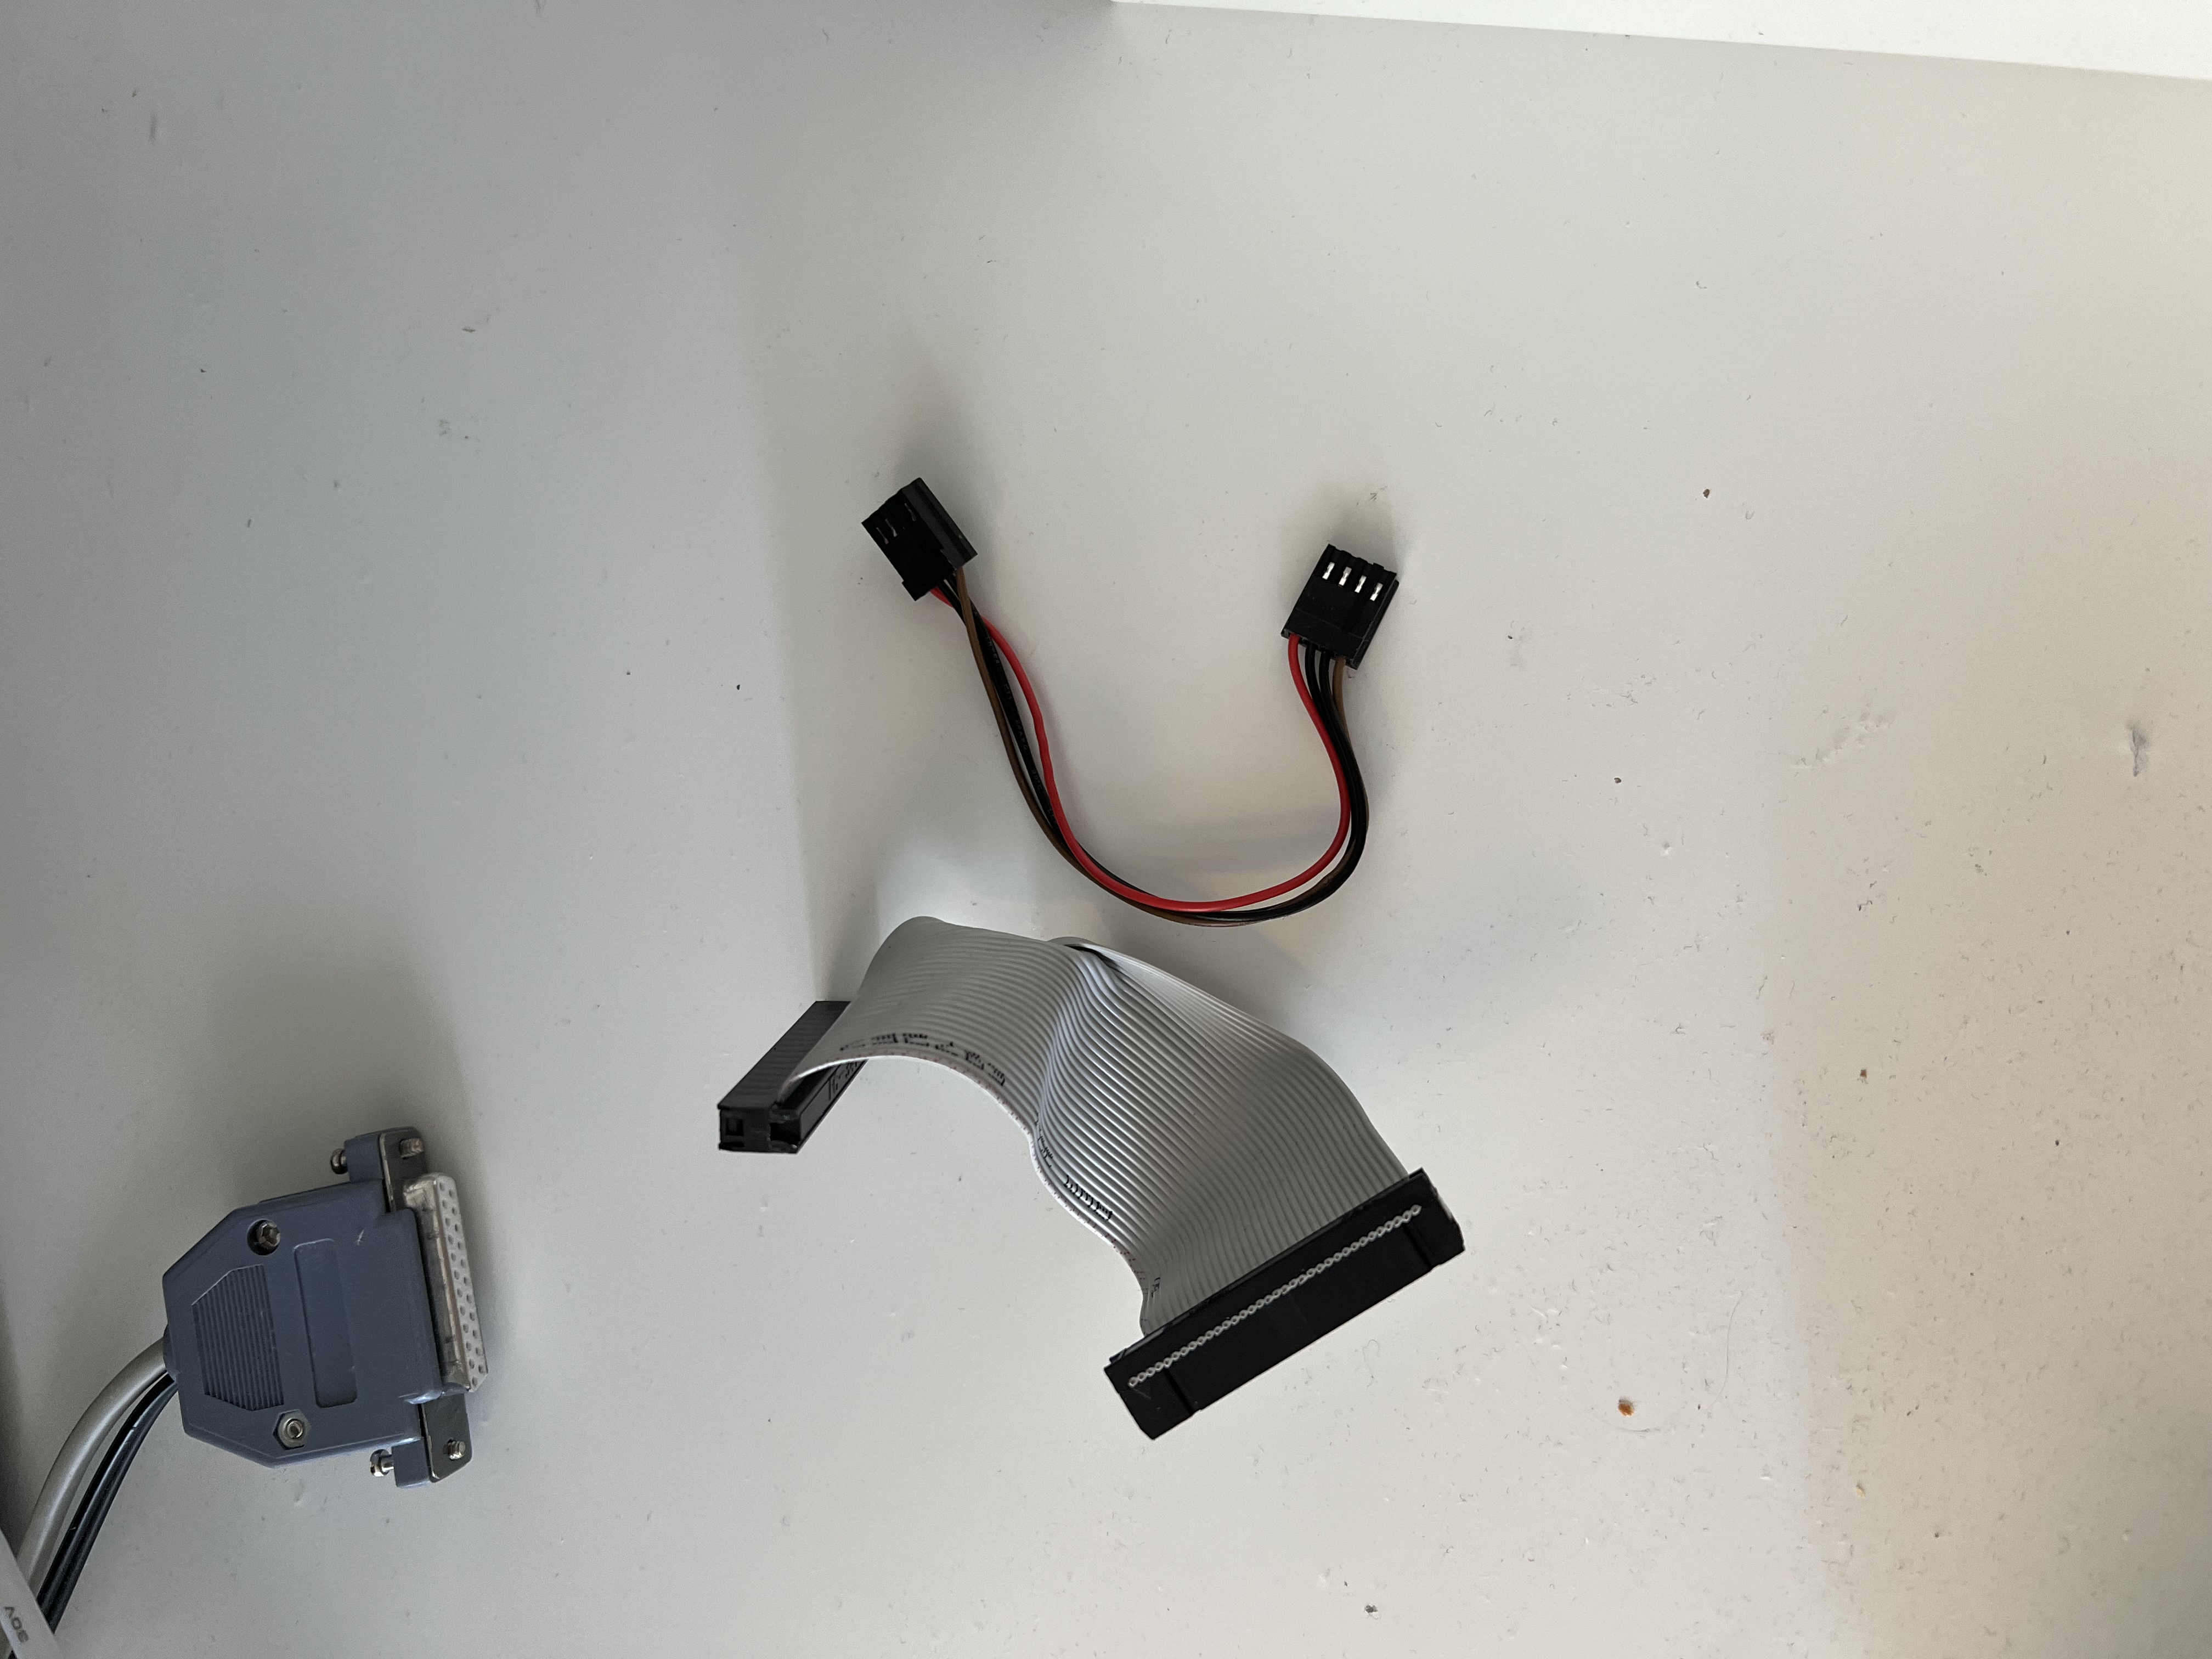
I have some future improvements I want to do as well. If you prefer, view the image gallery:
(click on an image to enter the gallery view!)
Future improvements, summary:
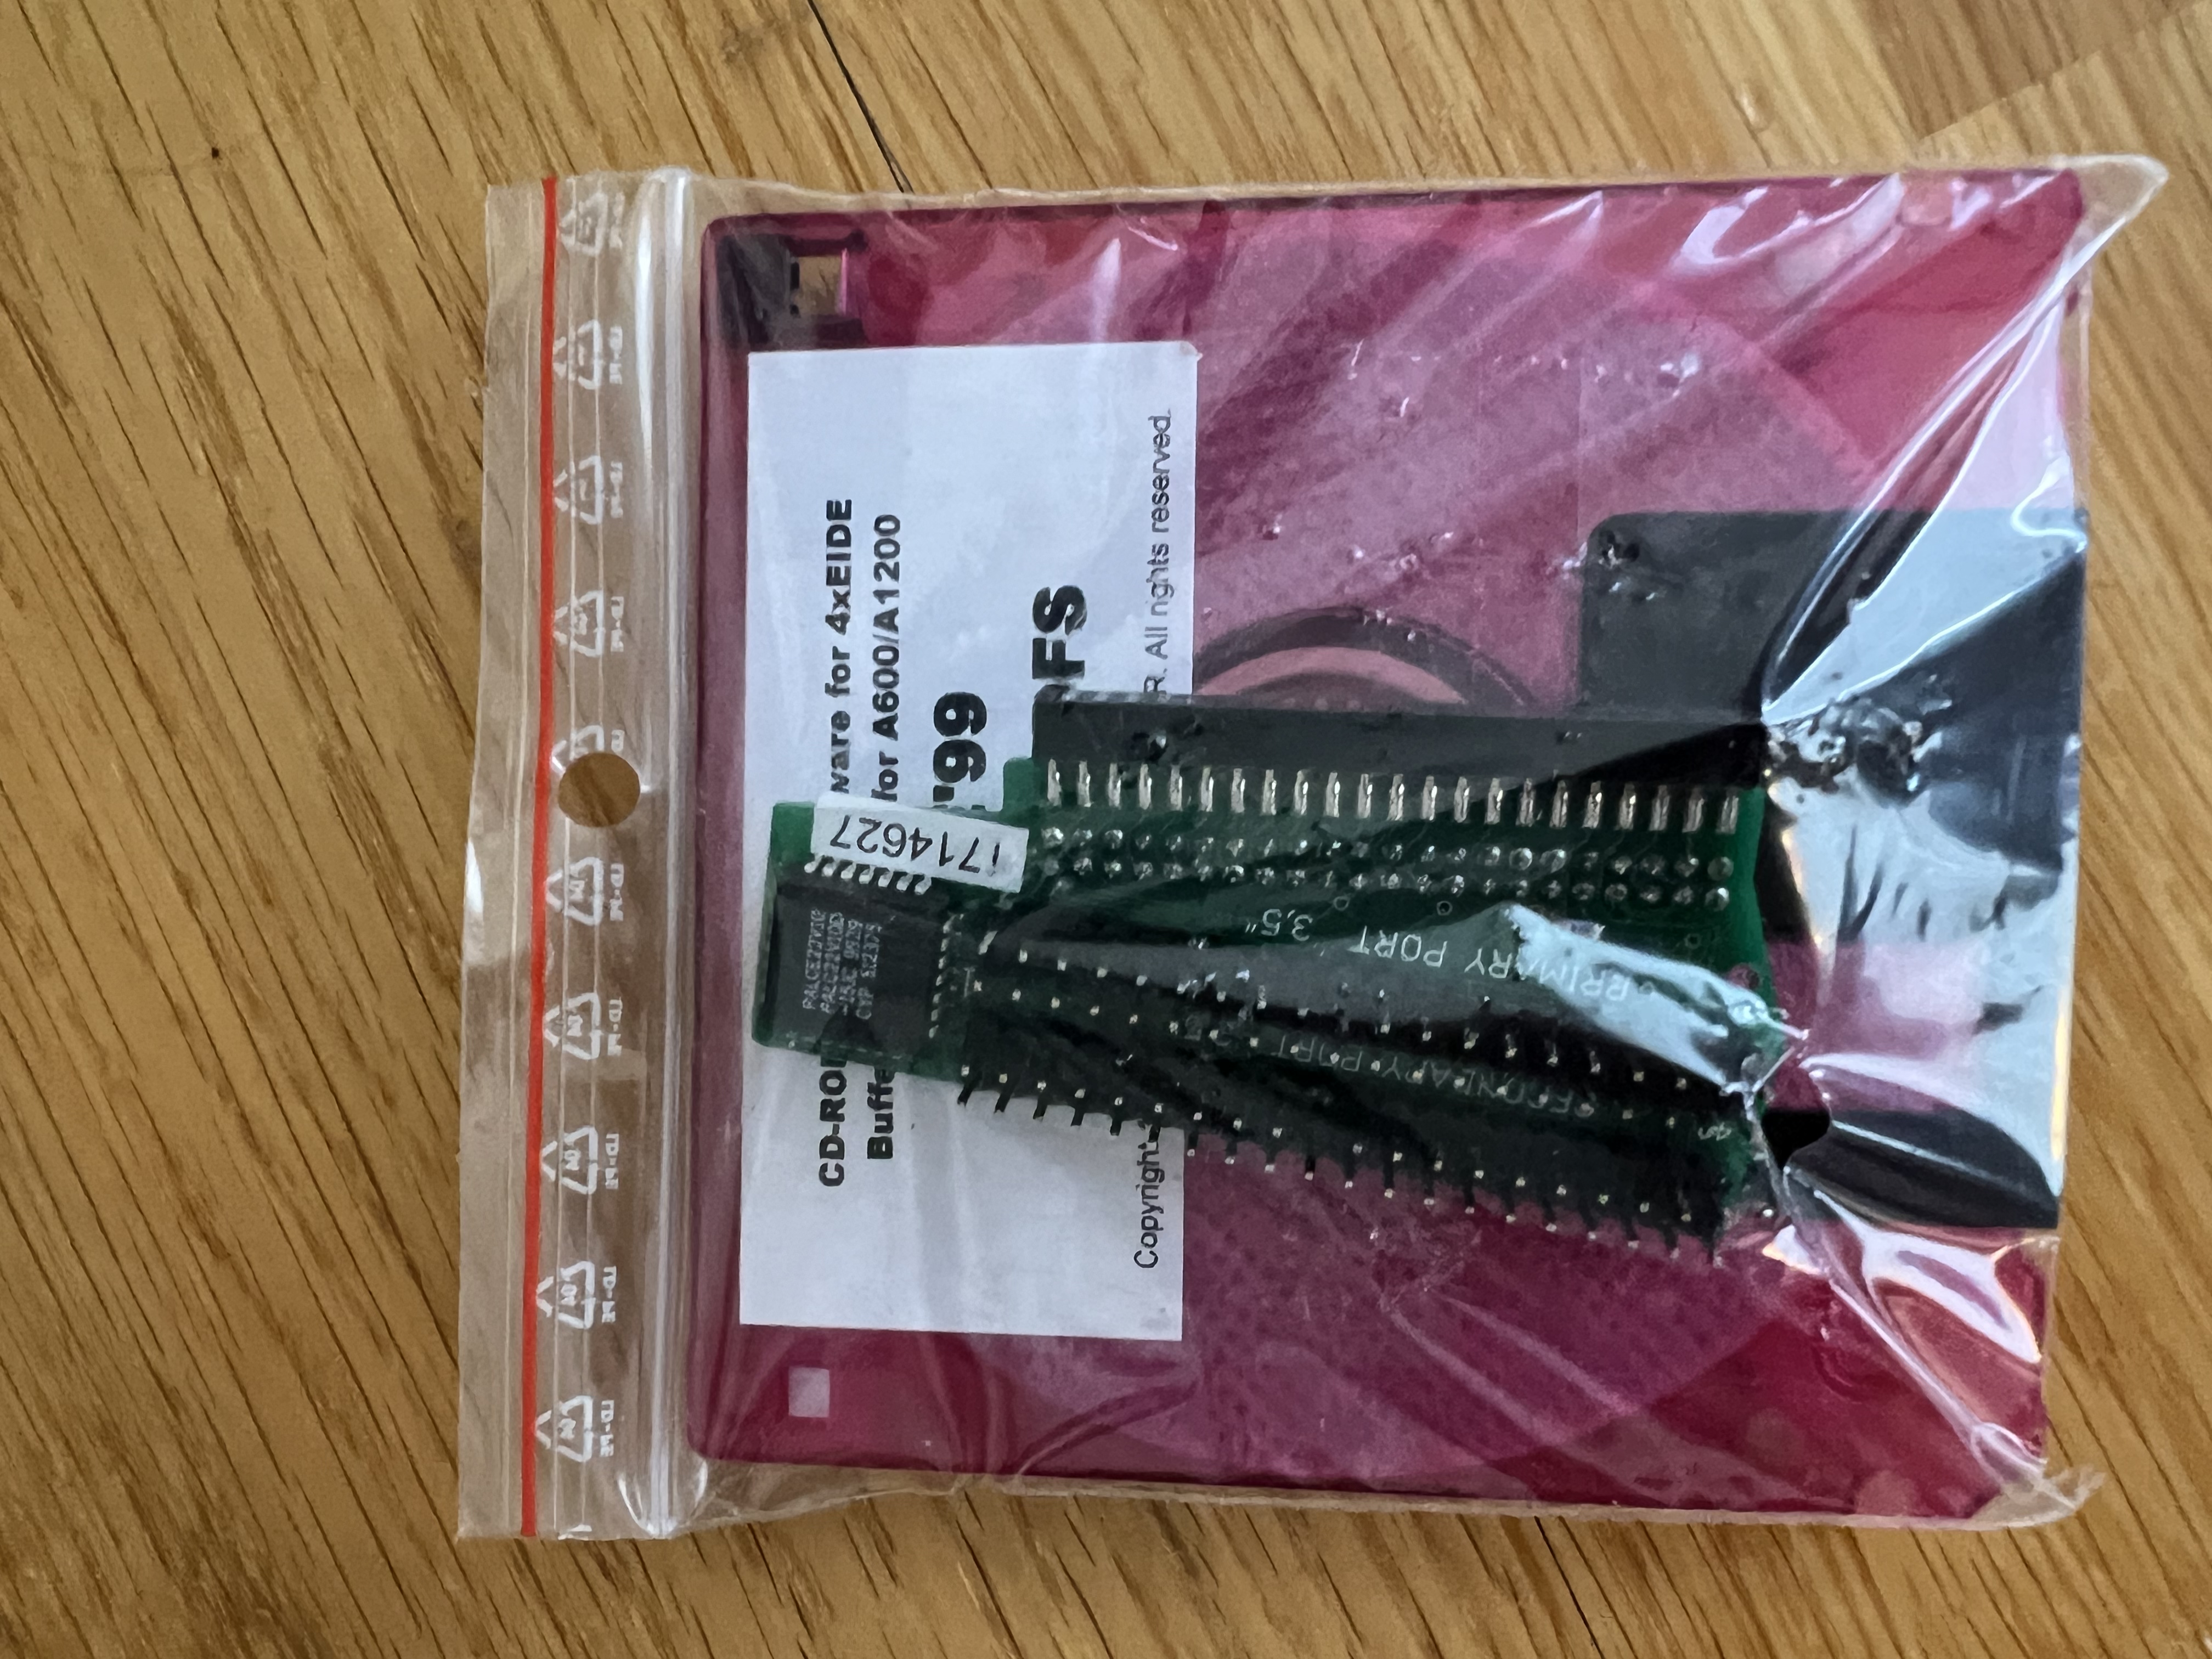
- A 4xEIDE buffered IDE adapter. This lets me plug more devices into the IDE port on my Amiga, and buffers them so I can read and write from multiple ones without issues. Also makes it easier to realize my dream of having a CD-ROM drive in my Amiga! Why? I have some CDs laying around, some being cover CDs from Amiga Future and similar. Being able to read them and listen to audio CDs on my Amiga would be neat!
- 3D print some back plates and PCI slots. PCI slots would really tidy up the cables for my USB keyboard adapter, as well as a possible HDMI cable. This brings me to…
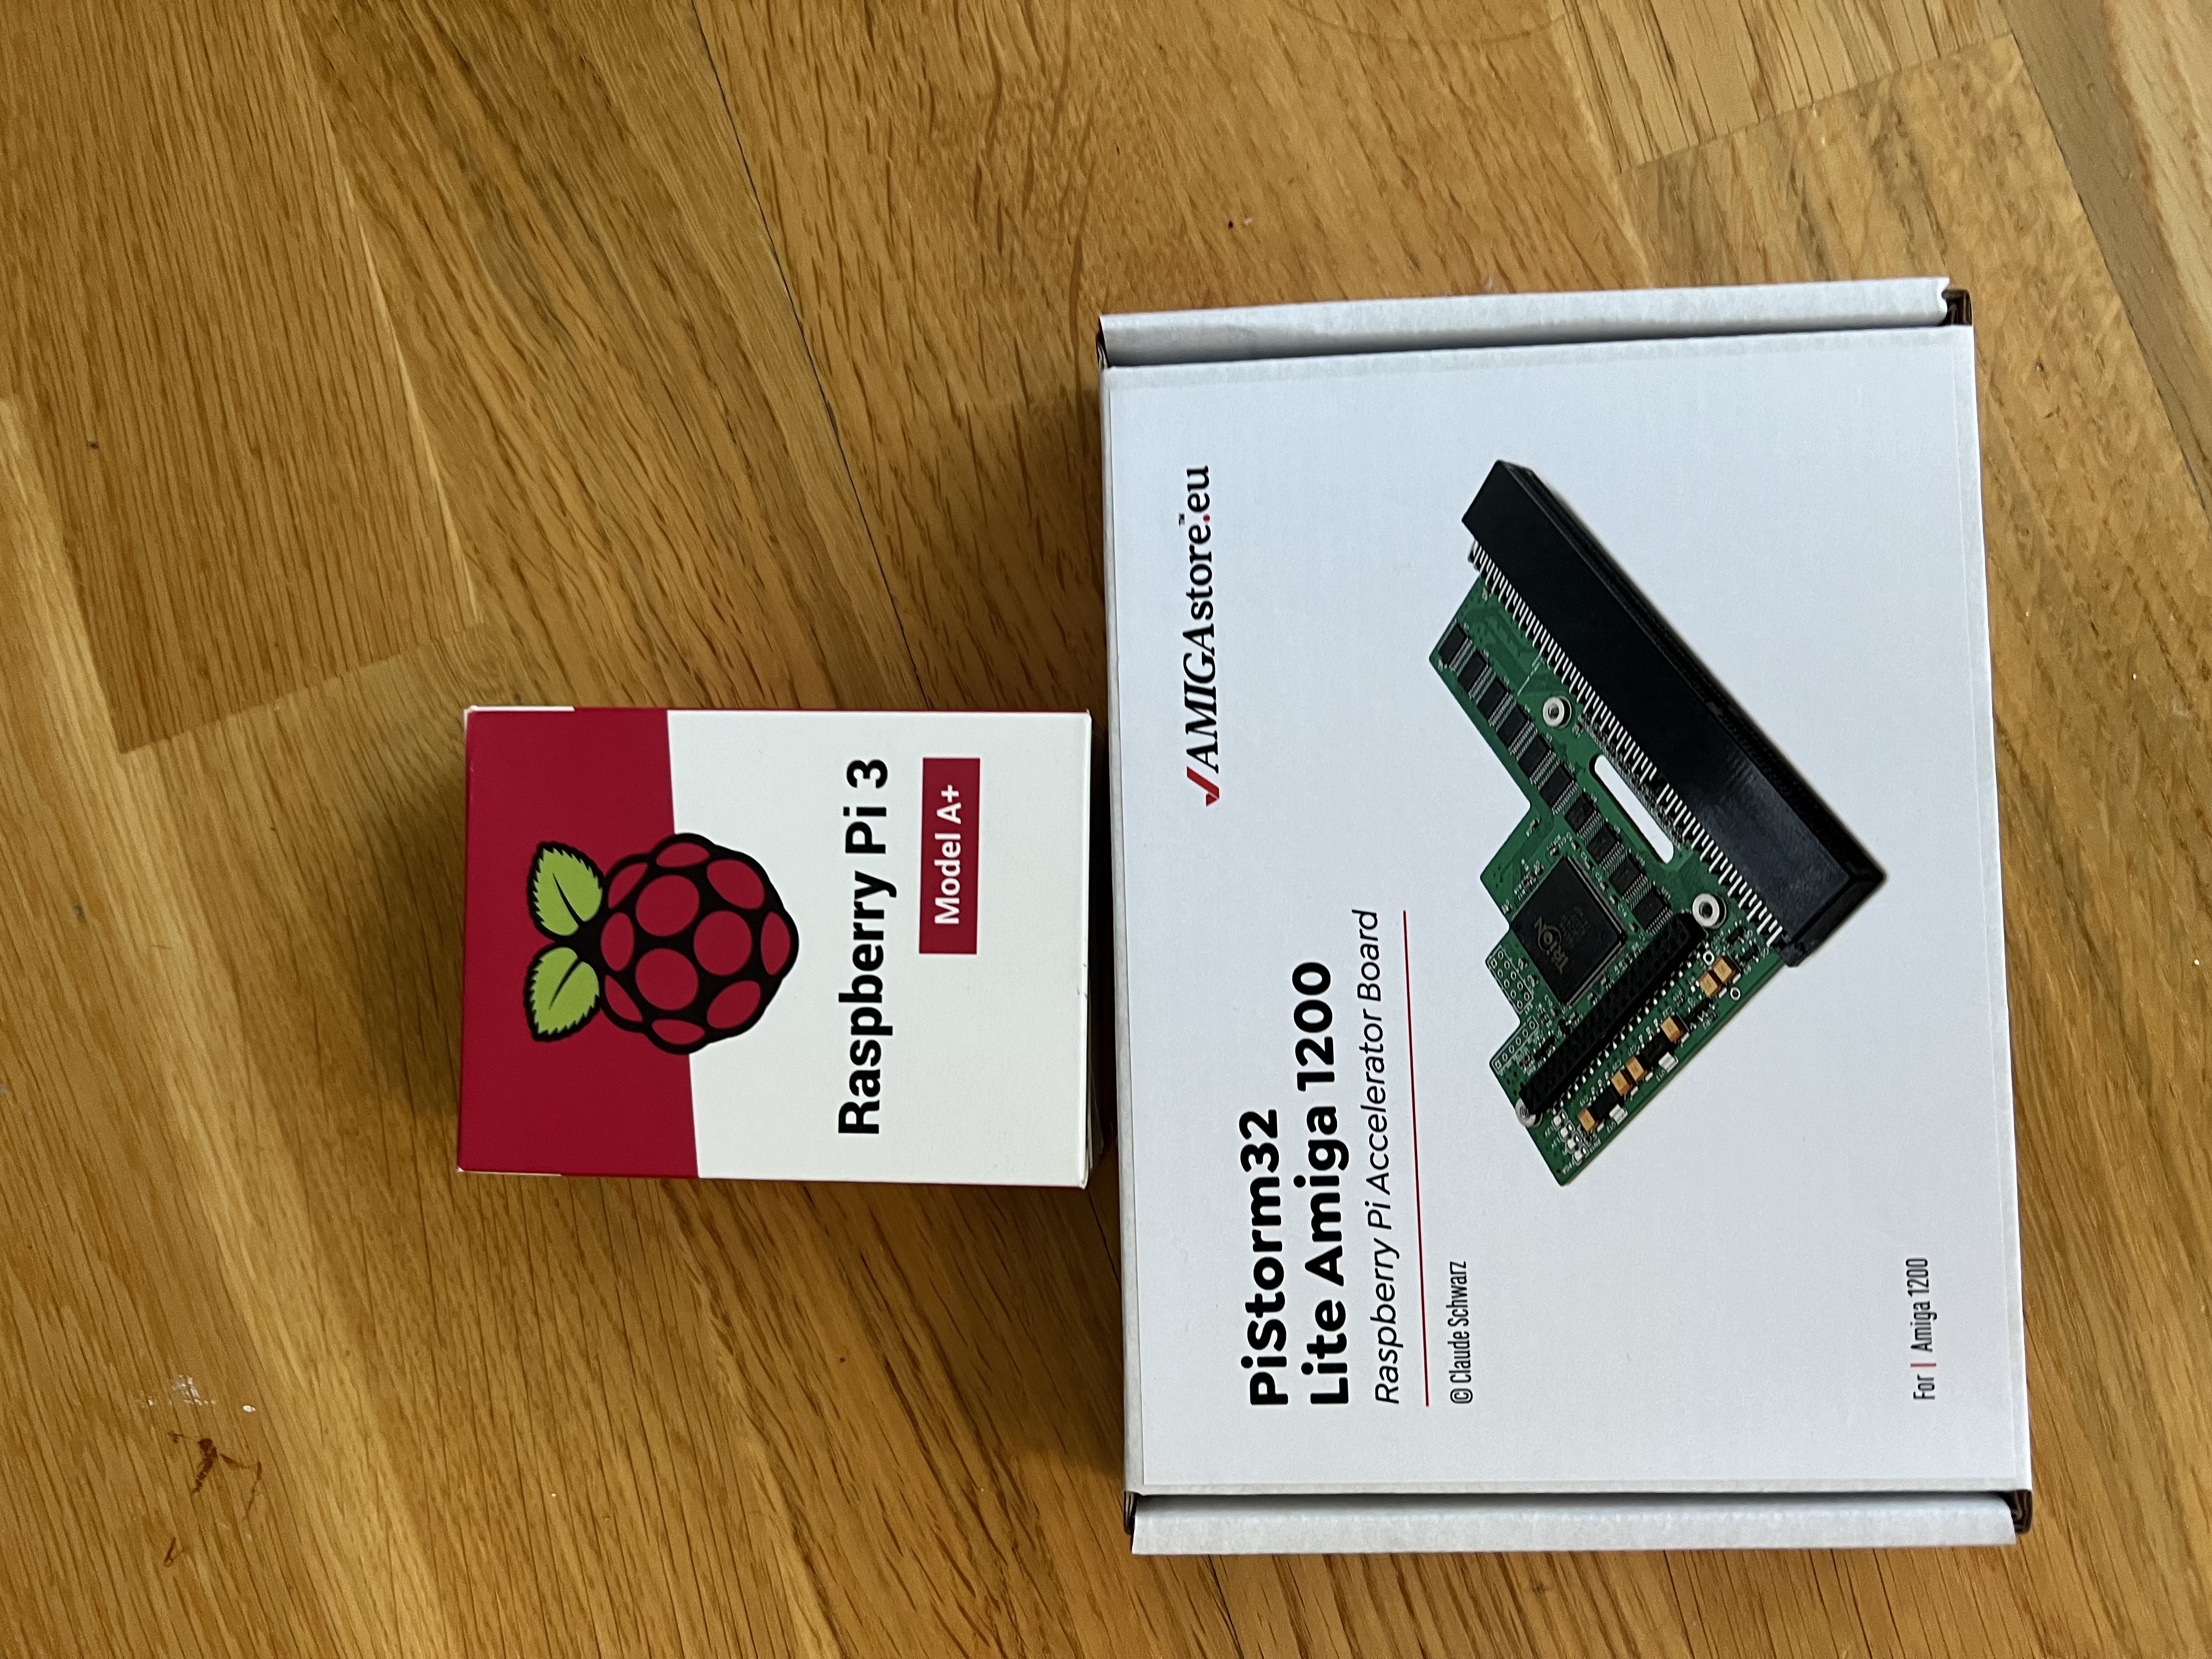
- PiStorm! This is an accelerator card powered by a Raspberry Pi 3, though I will maybe consider using a CM4 if WiFi internet connectivity is implemented. It is powered by Emu68, and provides the Amiga with a super fast 68040 inspired CPU which includes both a MMU and FPU. The card also gives us HDMI output, and with that also works as an RTG card. Having RTG functionality opens up a whole lot of new software to try, as well as being able to use a SDL port. The uninitiated might wonder what RTG is? It would be out of scope of this article to explain it fully, so let's over-simplify; RTG, or ReTargetable Graphics is a way for Amiga to use external graphics cards. This lets us use chunky pixels (drawing pixels with one operations) instead of relying on bitplanes. You would have to combine several bitplanes and draw to each one separately to draw pixel by pixel in the same way that games like Wolfenstein 3D and Doom did, which made the Amiga too slow for those kind of games. RTG lets us do this kind of drawing easier. Bitplanes were a really good optimization back in the day though, as you saved memory for drawing big 2D scenes. That was probably super over-simplified, but hopefully the more hard-core fellow Amiga geeks out there can forgive me for that explanation :)
The future looks bright! Looking forward to playing with the PiStorm when I have finished this article and eaten my vegetables! :)

